Replacing the Wifi Card on an Asus 1005HA
The following post will be a guide on how to open up an Asus EeePC 1005HA and replace the Wifi card if you need something that’s more supported for something or if you want one with a specific feature or for any reason, really. So to begin, all you need is a philips head screwdriver and a few minutes of your time. My Wifi card of choice is a Dell 1510, but you can swap it out with any other PCI-e half-height mini card.
WARNING: I am not responsible for any damage done to you, others, your netbook, or any other object that may be affected by the use of these instructions.
NOTE: Before you start taking apart the computer, I recommend you boot to the BIOS (press F2 on startup) and disable the internal WLAN. I’m not sure if it really changes anything or not, but there really isn’t a reason not to, it takes all of 10 seconds.
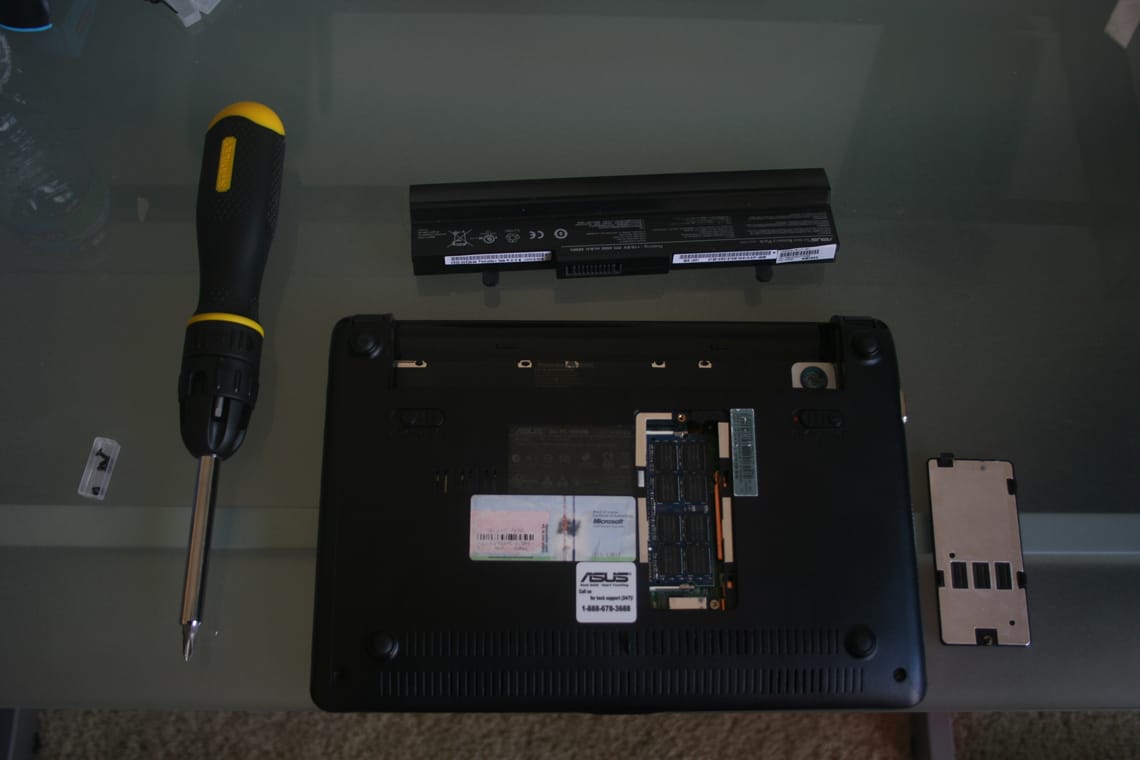
Ok. First things first, remove the battery and unplug the laptop from everything. We want to swap the card while the computer is off. Start by turning the computer over and unscrewing the 4 screws on the corners of the netbook as well as the screw holding the RAM port in. There should be one silver screw on the bottom of the RAM area, unscrew this too.
Next, we will flip the computer up and open the lid. We need to remove the keyboard. On the top part of the keyboard, just after the Fn keys, there will be 4 tabs holding the keyboard down. Start from the left, push the first one out towards the monitor and pull up on the Esc key. If you do it right, the keyboard should lift slightly as seen in the picture. Push the rest of the tabs out and the keyboard should lift more and more.
The only challenge with lifting the keyboard the entire way out is a small slab of glue on the right. Don’t try to keep lifting from the Esc key, that will bend the keyboard. Instead, push up slightly from the closest Fn key you can. Keep applying a little pressure until the keyboard separates from the glue. It will eventually come off.
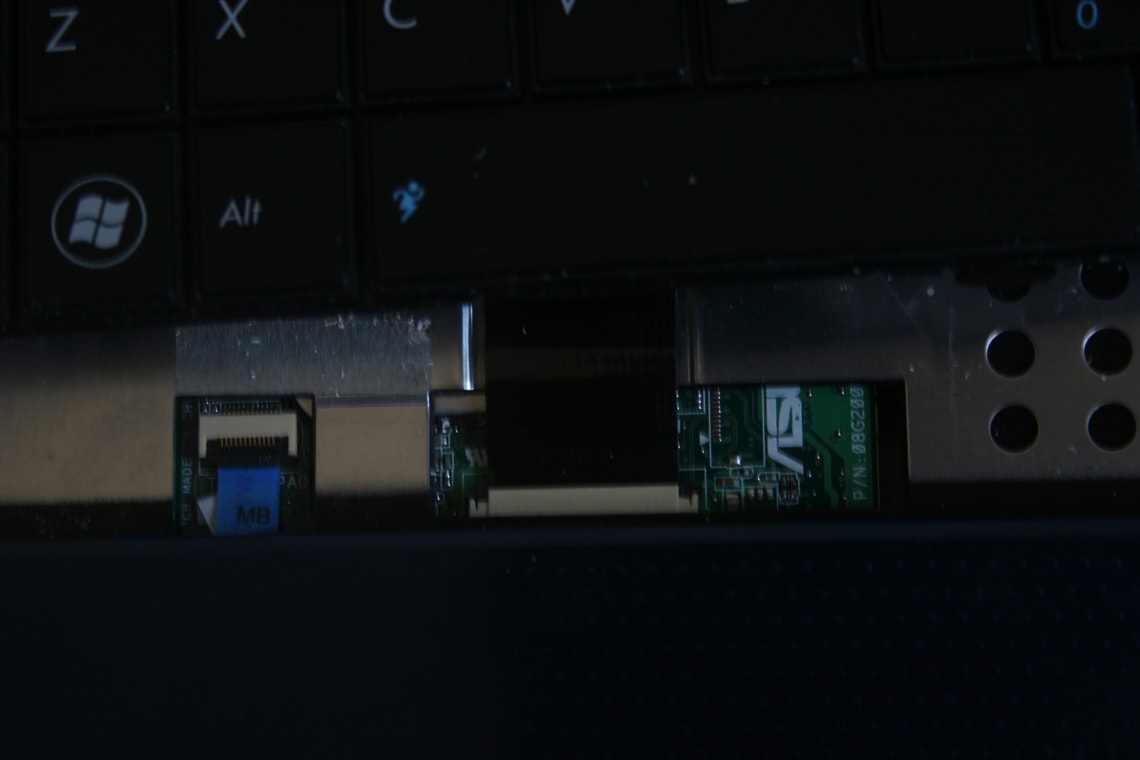
The keyboard should have one wire connected to the motherboard below it. There should be two black tabs, push them out with either your fingers or a flat object like a flathead screwdriver or a butter knife. After you push the tabs out, the connection should be freed and you can put the keyboard aside.
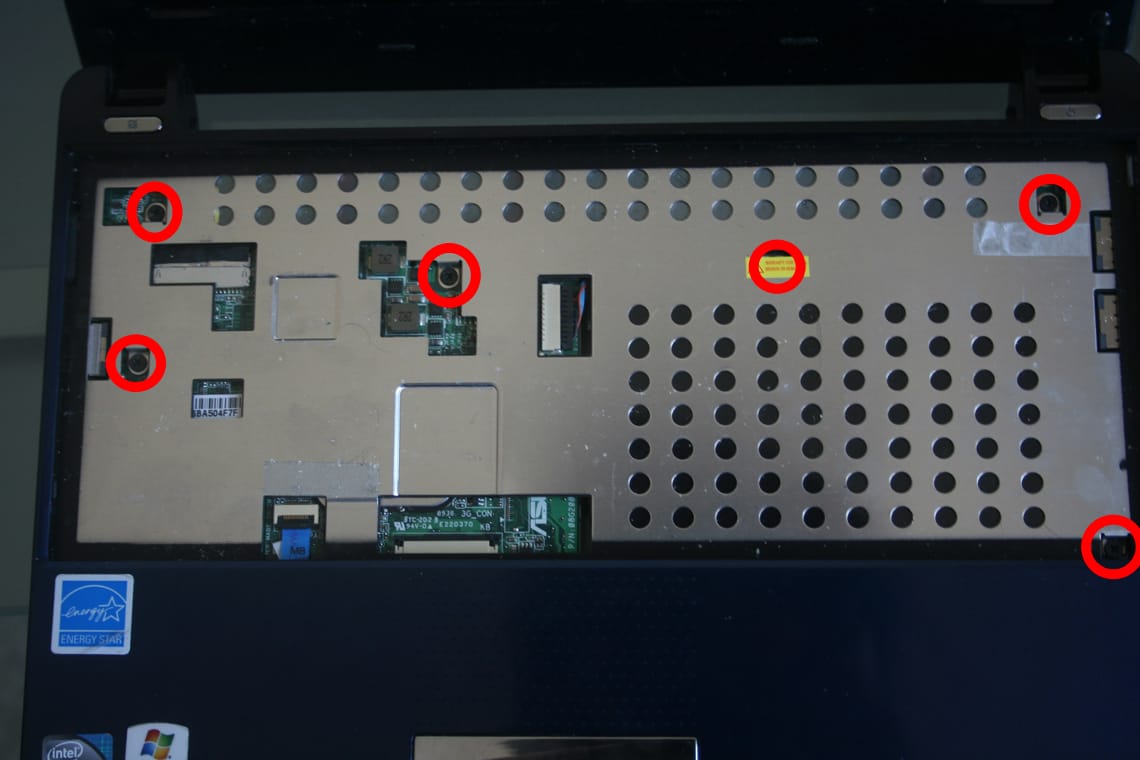
From here you should be able to see another 6 screws (one under the warranty warning). In case you can’t see them, I’ve pointed them out in the picture. Unscrew all of them. I don’t think the screws are any different than the exterior ones, but I separated them anyway.
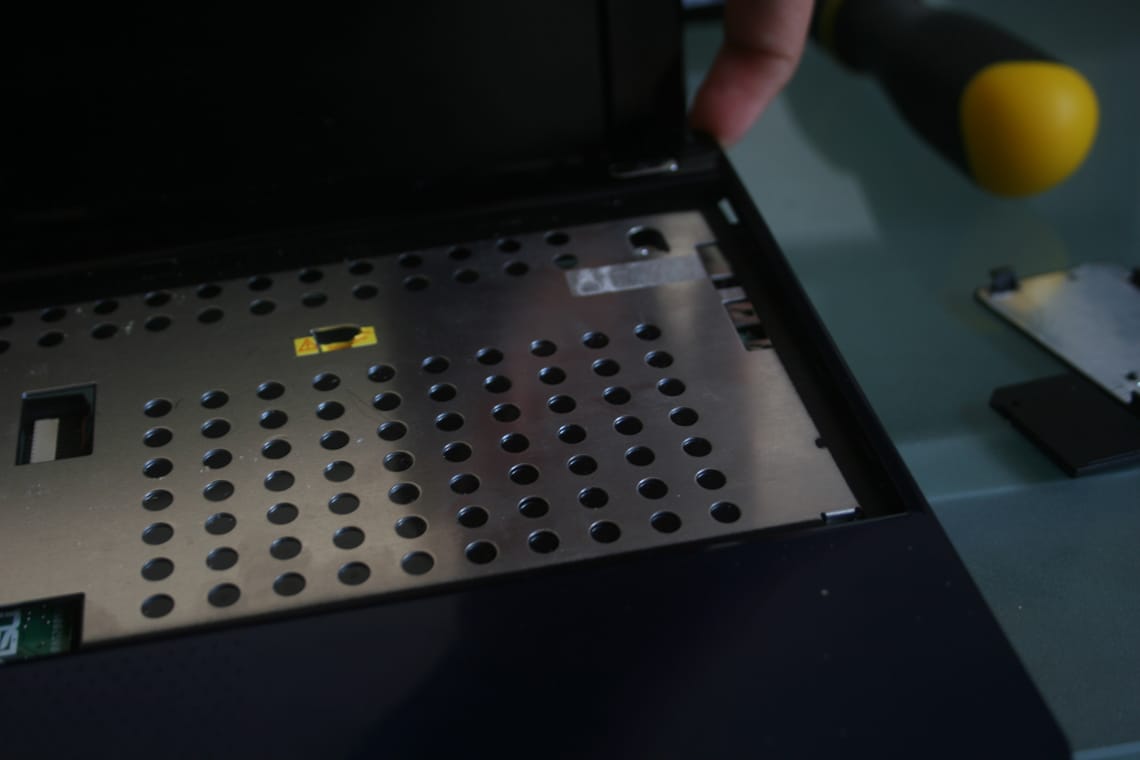
The absolute hardest part of this process is taking the top part of the netbook off of the bottom part. You simply have to apply some force and push it up and off. Start with the top right and work to the bottom right, then the top left to the bottom left. To get the top line off, tilt your monitor lid in just a little and flip it over to the bottom. There will be 3 tabs that need to be pushed out in order to release the top part. From there, the bottom section should snap right off.
Don’t bother with removing the connection between the top part and the motherboard, just lay it down in front of the netbook. From here, the wifi card should be easily located. It’s towards the bottom center, and it has a gold antenna attached to it. Carefully pry the antenna off and leave it hanging for now. There will be one small sliver screw. Unscrew it and place it aside. The wifi card should simply pop up and out. Now just do the reverse to get the new card in: insert card, push down, screw in silver screw, attach antenna to either location.
Before you try and put it all back together, gently press the power button and boot up, double check that it does indeed work. If you disabled Wifi in the BIOS at the beginning of this guide, you should now boot back into the BIOS and turn it back on. Now all you have to do is follow this guide backwards (not including this last step with the wifi card) to put it back together.
