VR for G3 enhancements
I recently received a “VR for G3” headset from LG as part of a Facebook promotion, which is awesome given that my current phone is the LG G3.
It eventually came in the mail and I immediately opened it up and gave it a shot. My first impression was that this was going to be awesome, but in it’s current form, a little less than ok. The G3 has a Quad HD (2560x1440) resolution, which means the screen-door effect is negligible, especially with the low field of view you get with the Google Cardboard lenses. The experience, however, was hindered by the construction of the headset itself. The main issues I had with it were:
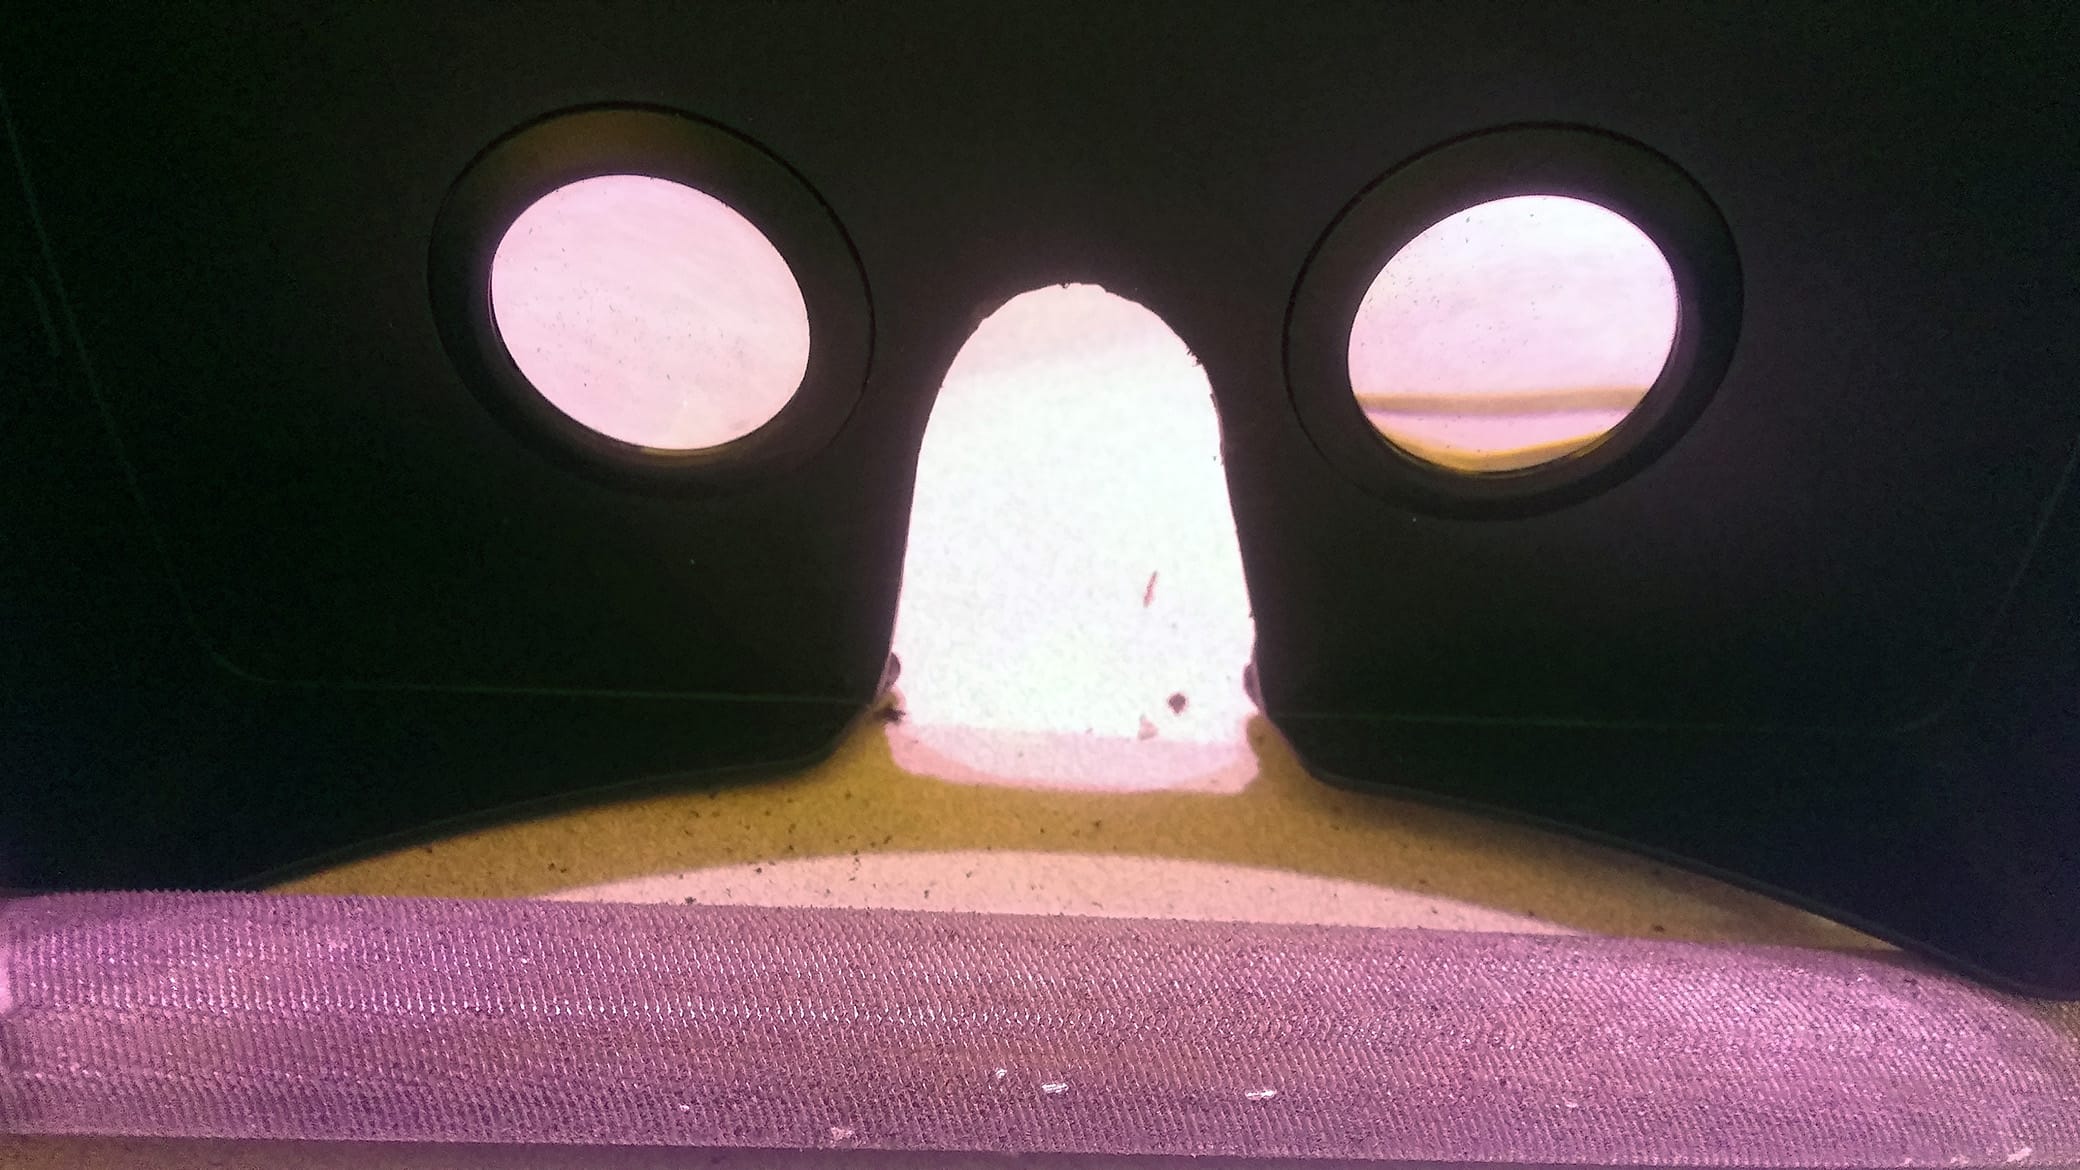
- Tiny nose hole
- No head straps (though they left 2 holes for them)
- Lots of light leakage
- Hard plastic edges pressing against your face
- magnetic button doesn’t seem to work as well as an actual Cardboard
Most of these problems can be solved with a little bit of work, and since I’d really like to have an untethered VR headset, I decided to put in the effort to fix it up.
Materials
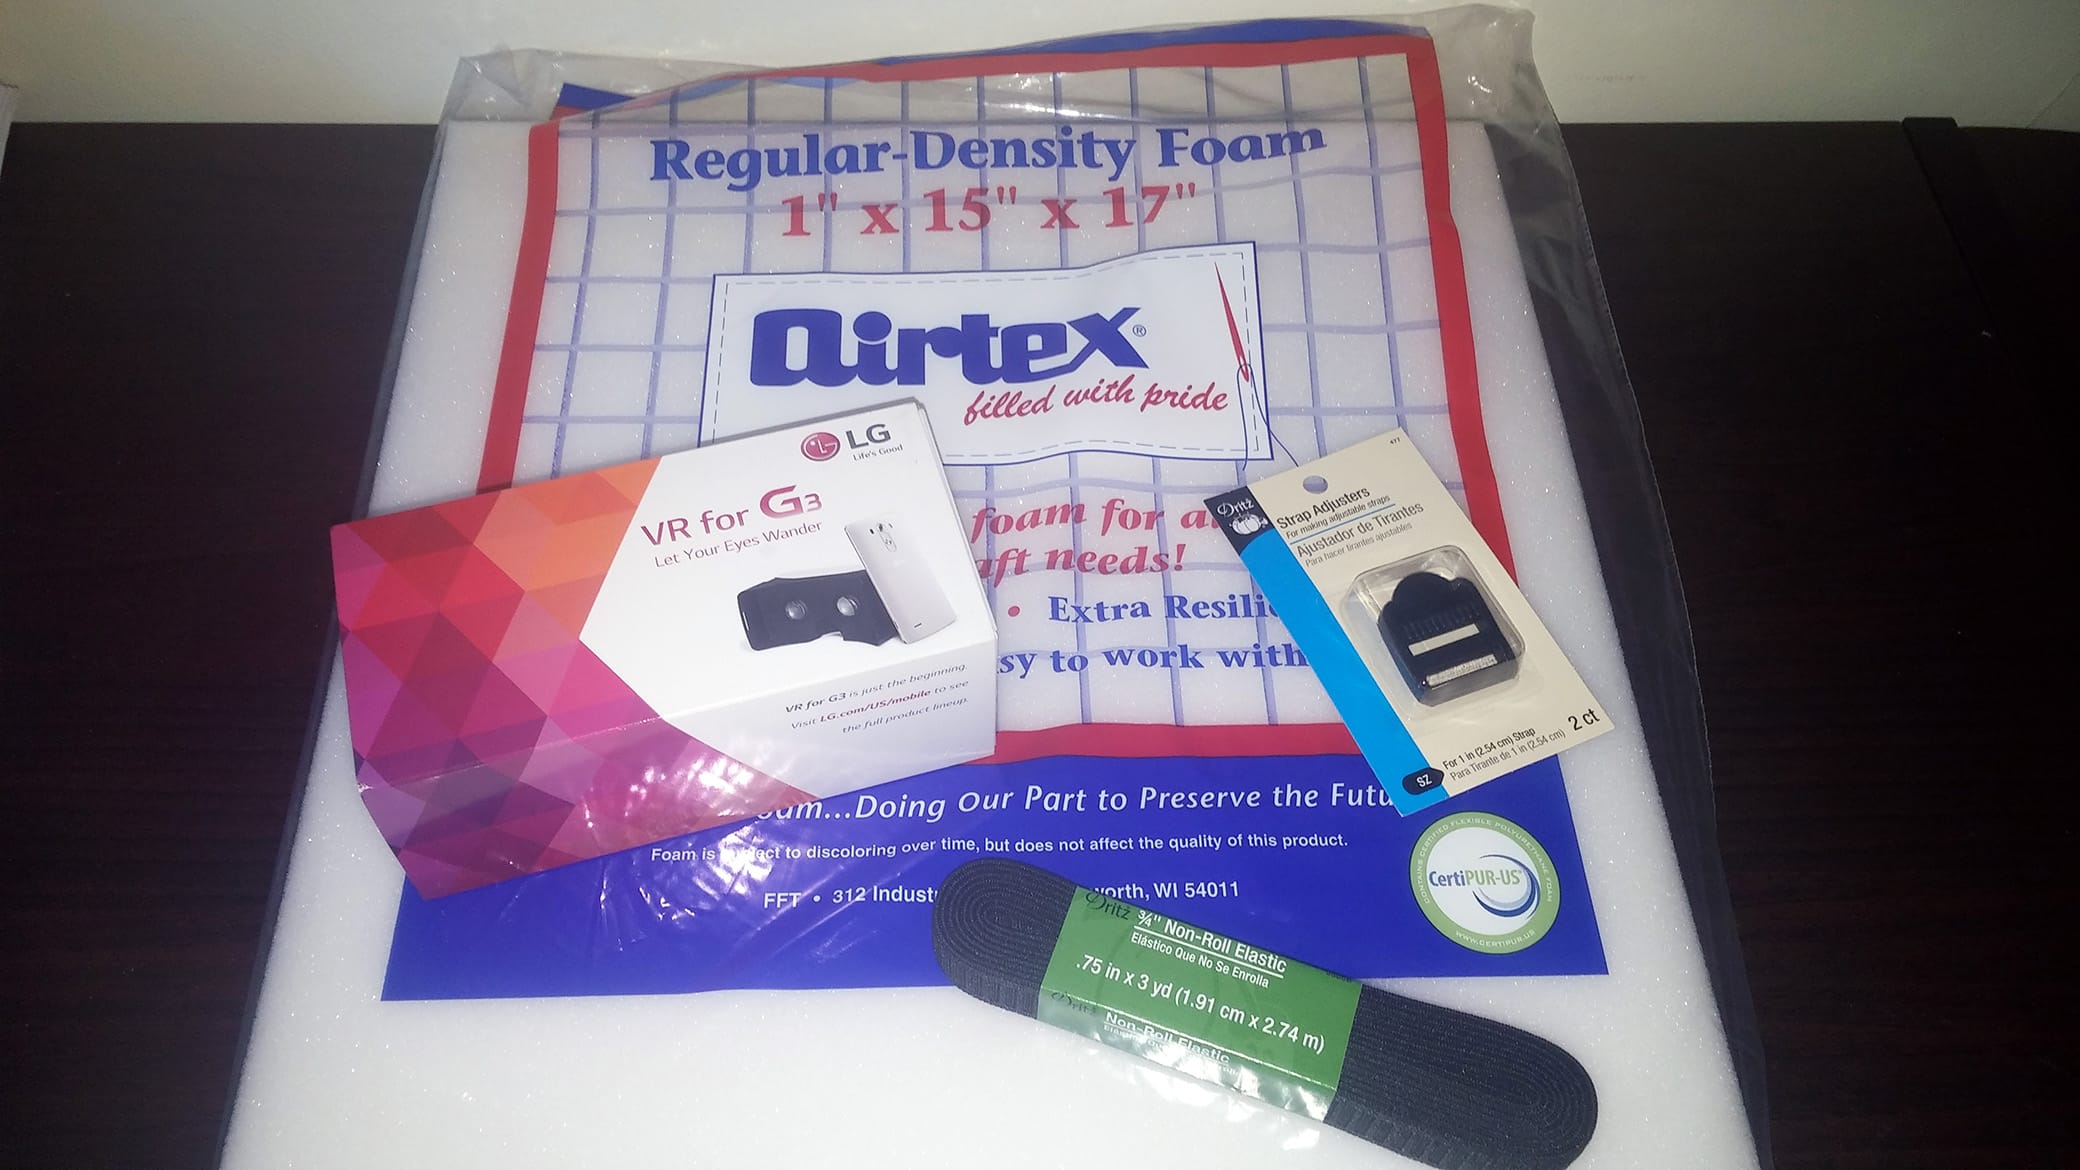
Your local fabric or crafts store should have everything you need. Here are the supplies you will need:
| Item | Cost |
|---|---|
| VR for G3 headset | $0.00 |
| 3/4” Elastic - Dritz 9306B (1” also works) | $4.85 |
| Strap Adjuster - Dritz 477 | $1.99 |
| Regular-Density Foam | $5.99 |
| Total | $12.83 |
I also used the following tools in the process that I didn’t have to buy:
- Thread (black or white works well if you care about color)
- Needle
- Dremel
- Round file
- Low-grit sandpaper (I used 100)
- Knife
- Scissors
- Hot glue gun
You should be able to find substitutes for most of these things if you don’t have them lying around and can’t borrow them from a friend. I just used what I had around and borrowed a friend’s Dremel. Whatever gets the job done!
Procedure
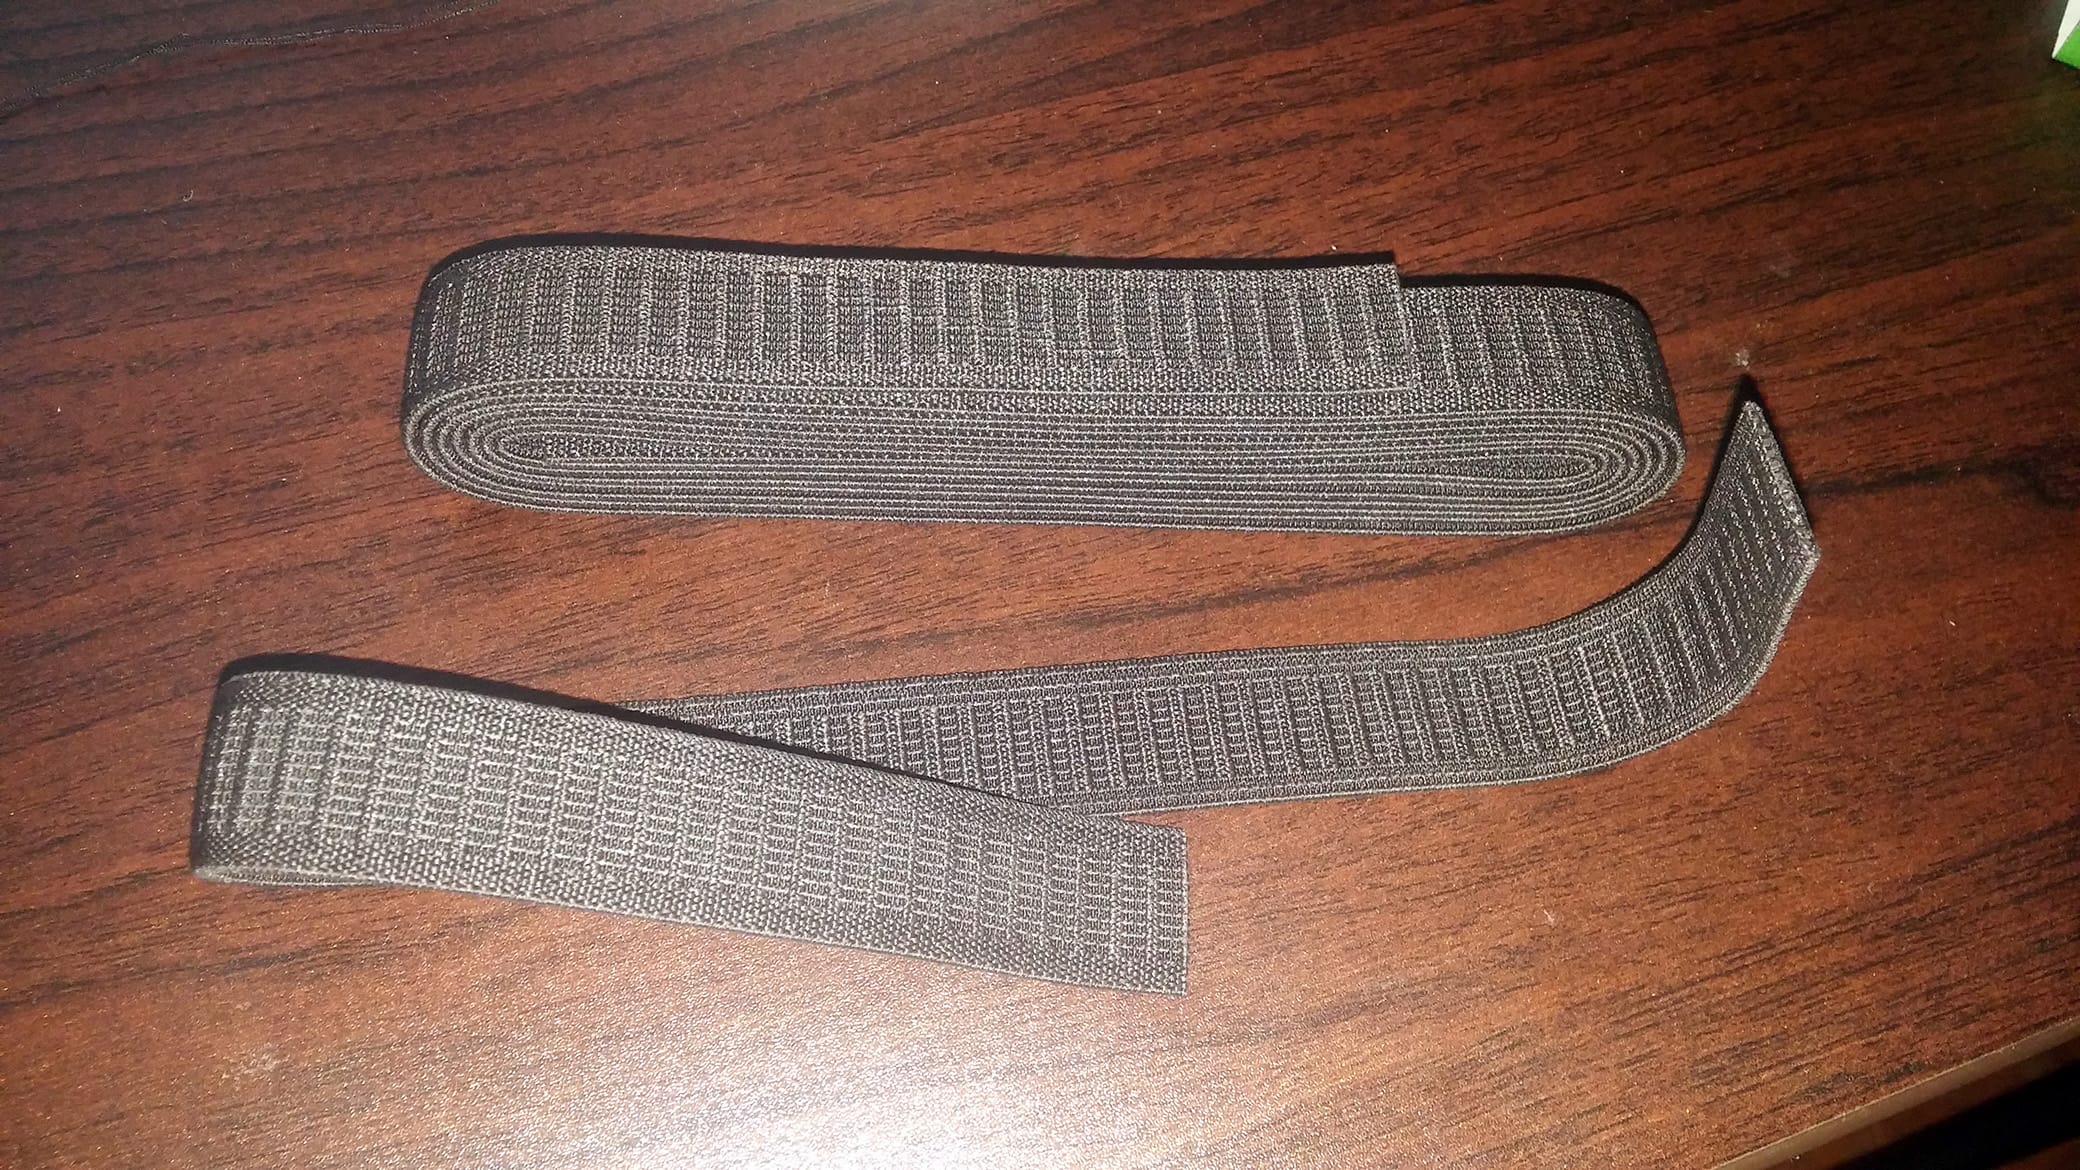
Start by cutting a piece of elastic to length. I put my headset on and measured the elastic from the left strap hole to about the back of my head and made a cut there.
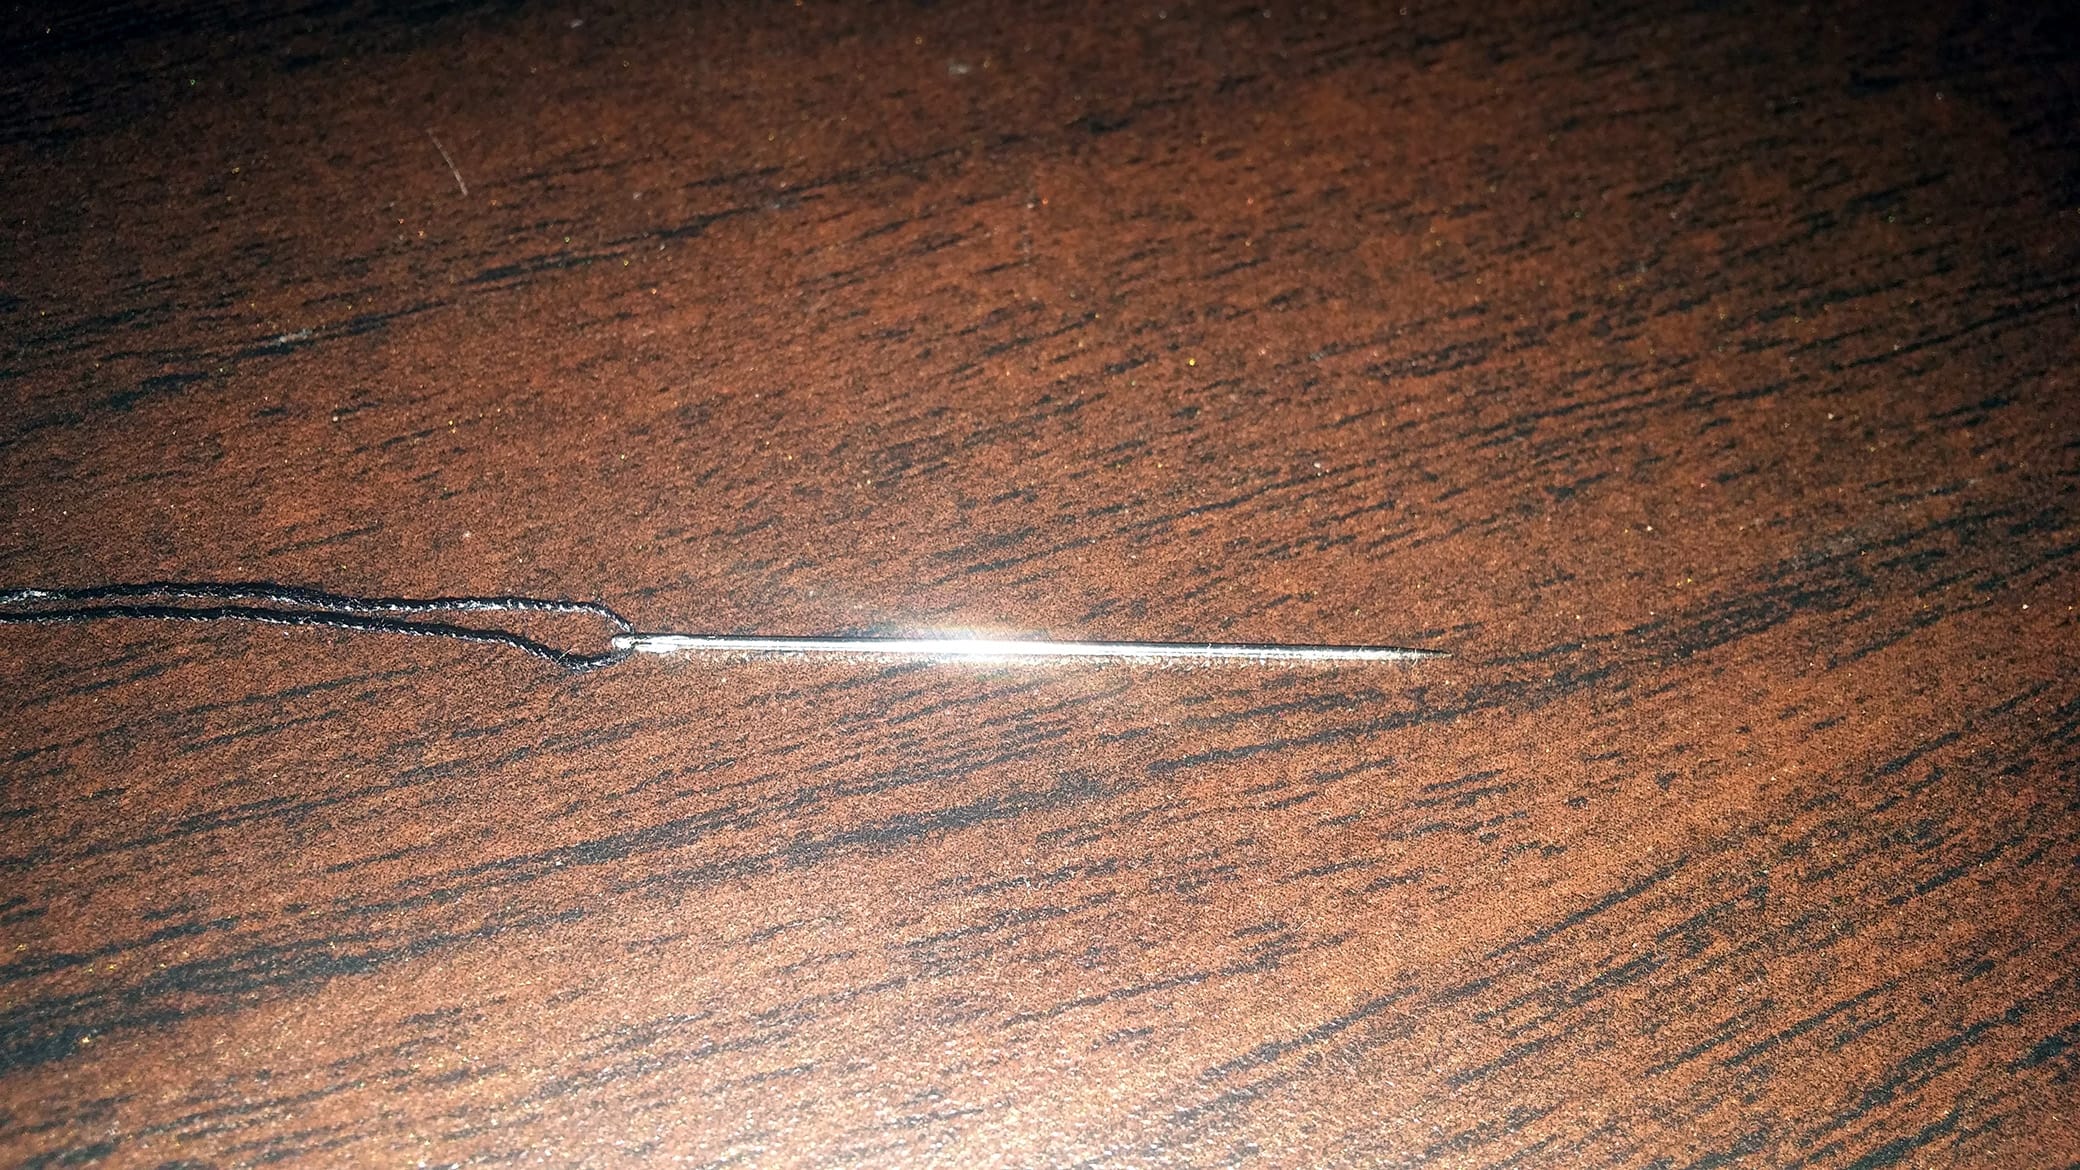
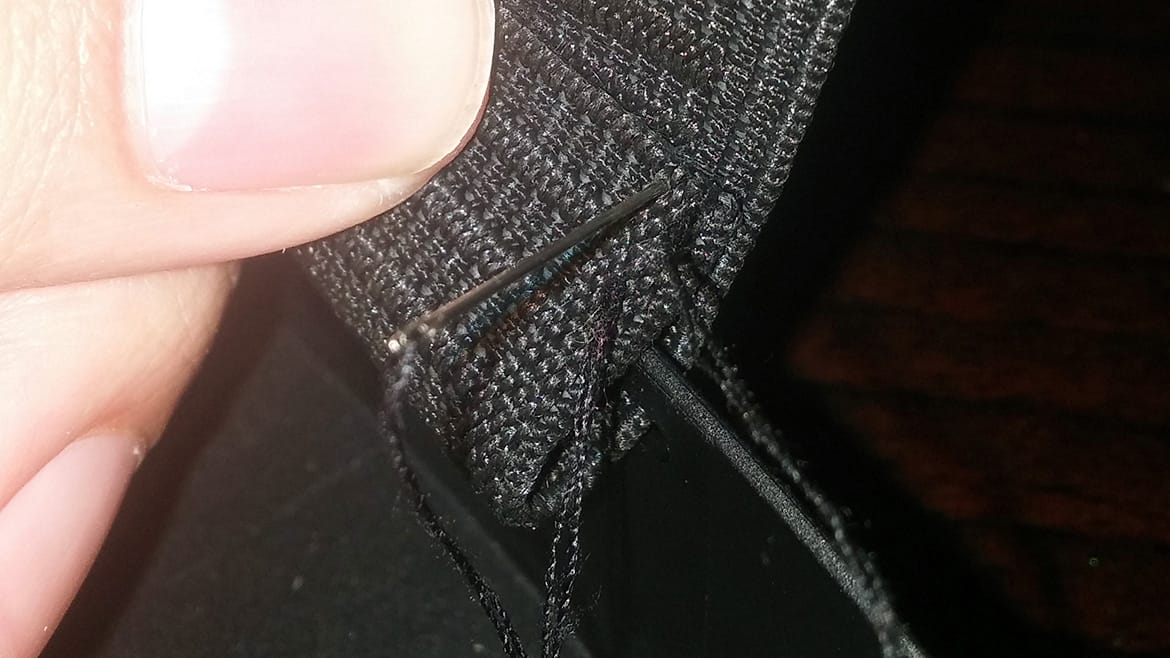
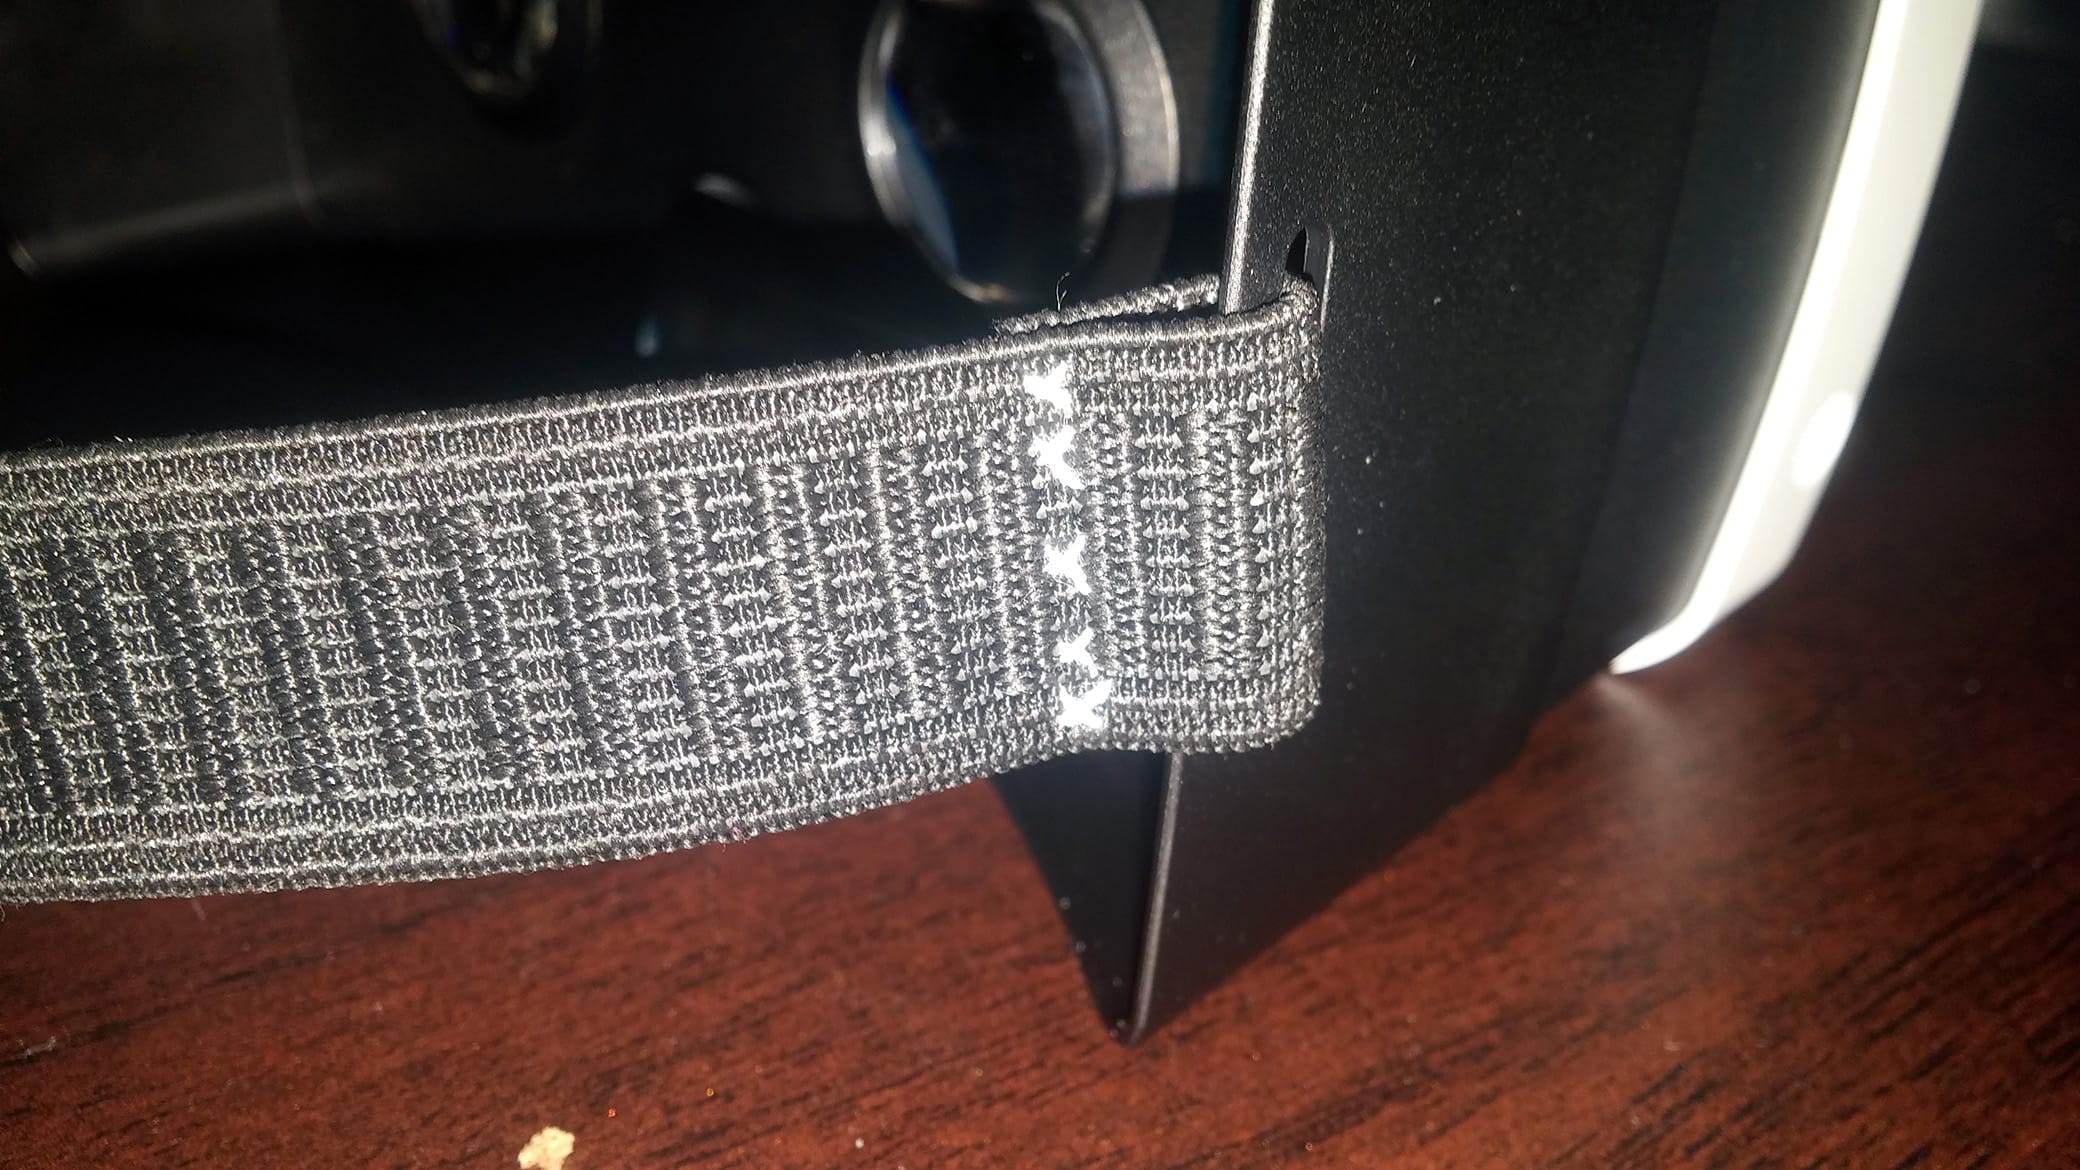
Thread the needle and start sewing the elastic on the headset like the picture above. If you don’t know how to sew, there are some great tutorials and videos online for beginners. I used a cross stitch, but a running stitch would work just fine.
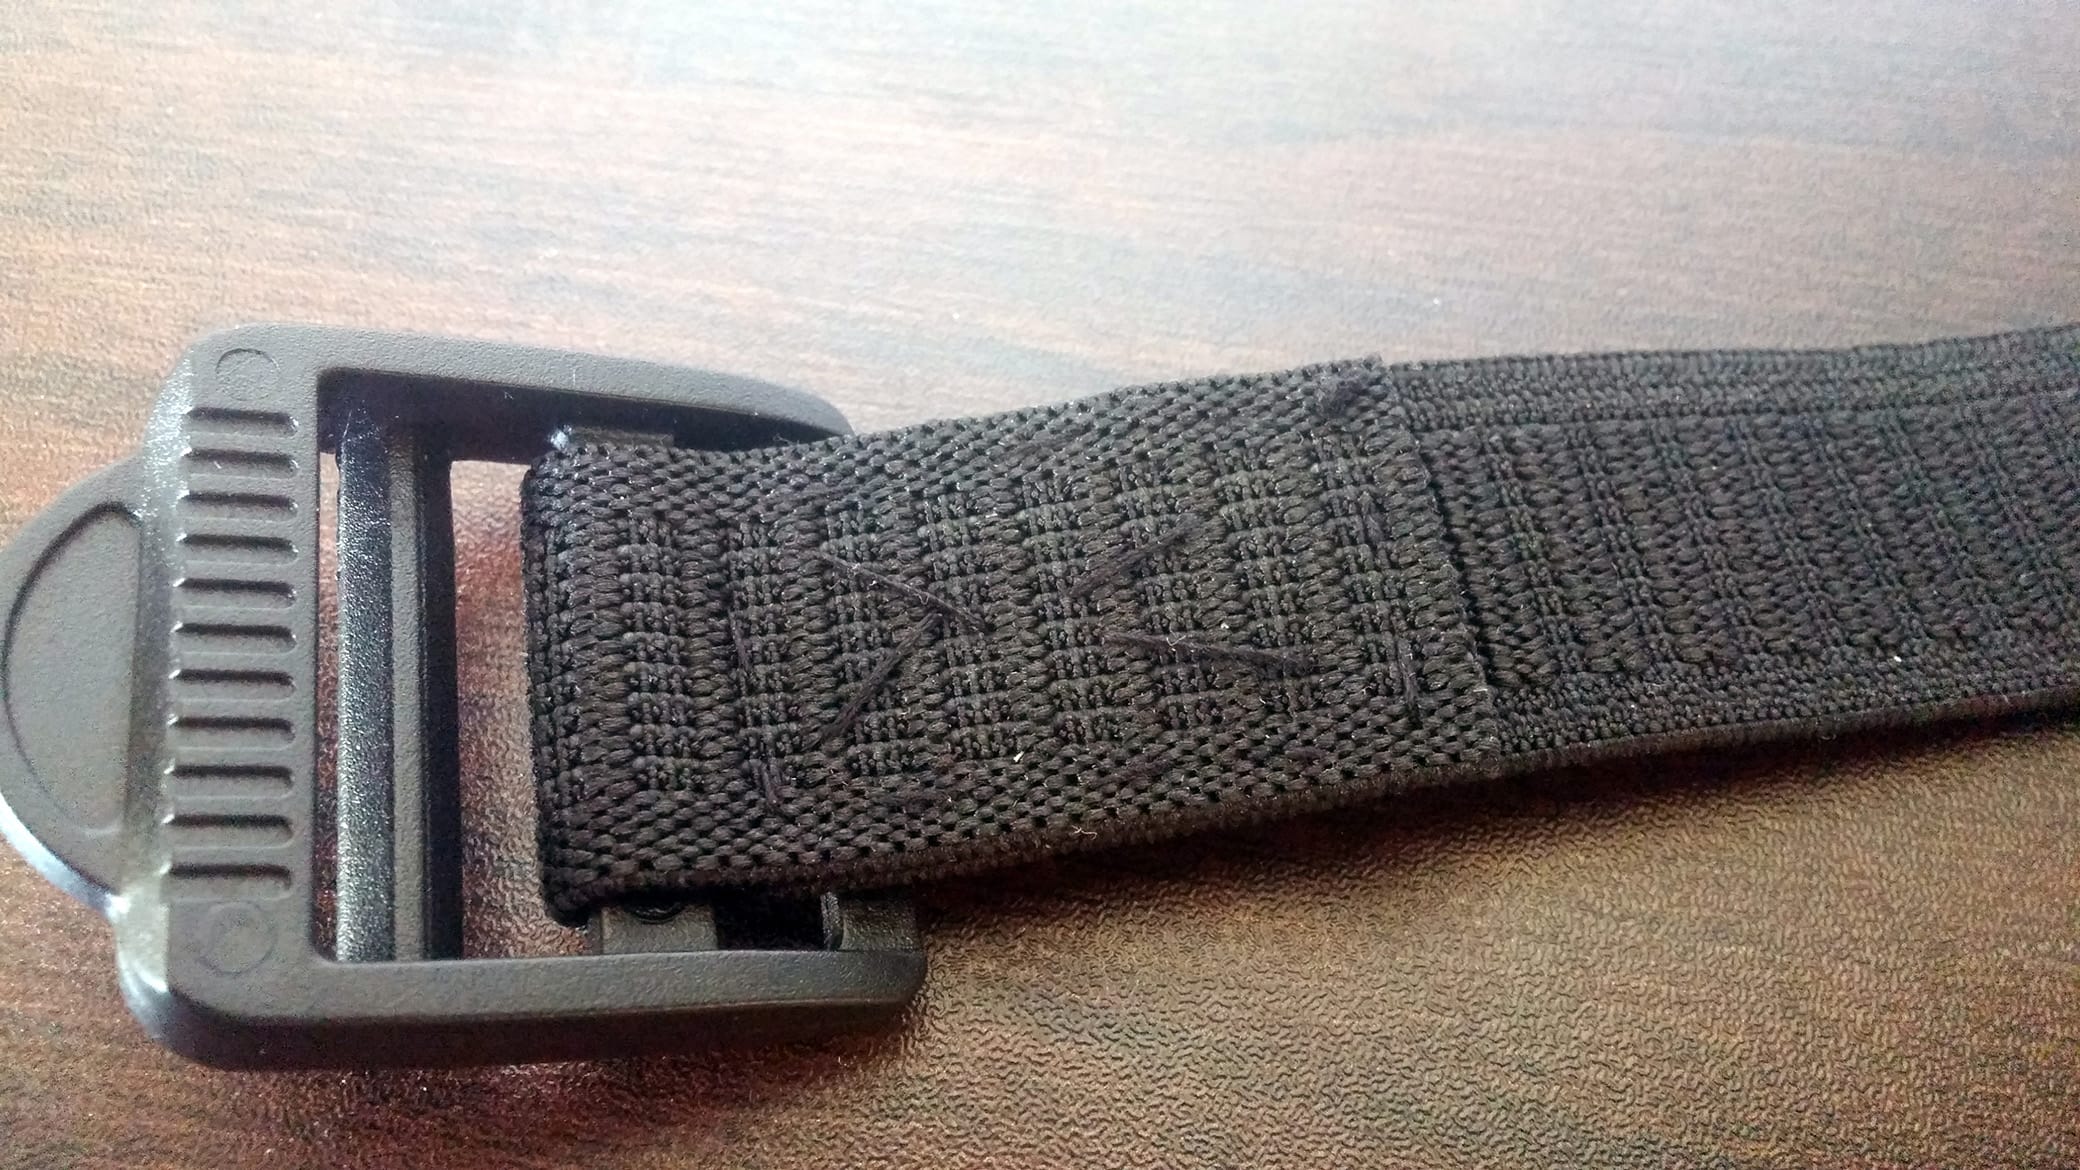
Grab one of the strap adjusters and loop the elastic around it like the picture above. The instructions for my strap adjusters recommend stitching an X in the middle of the square, so I did just that. I used a running stitch here since I was running low on black thread.
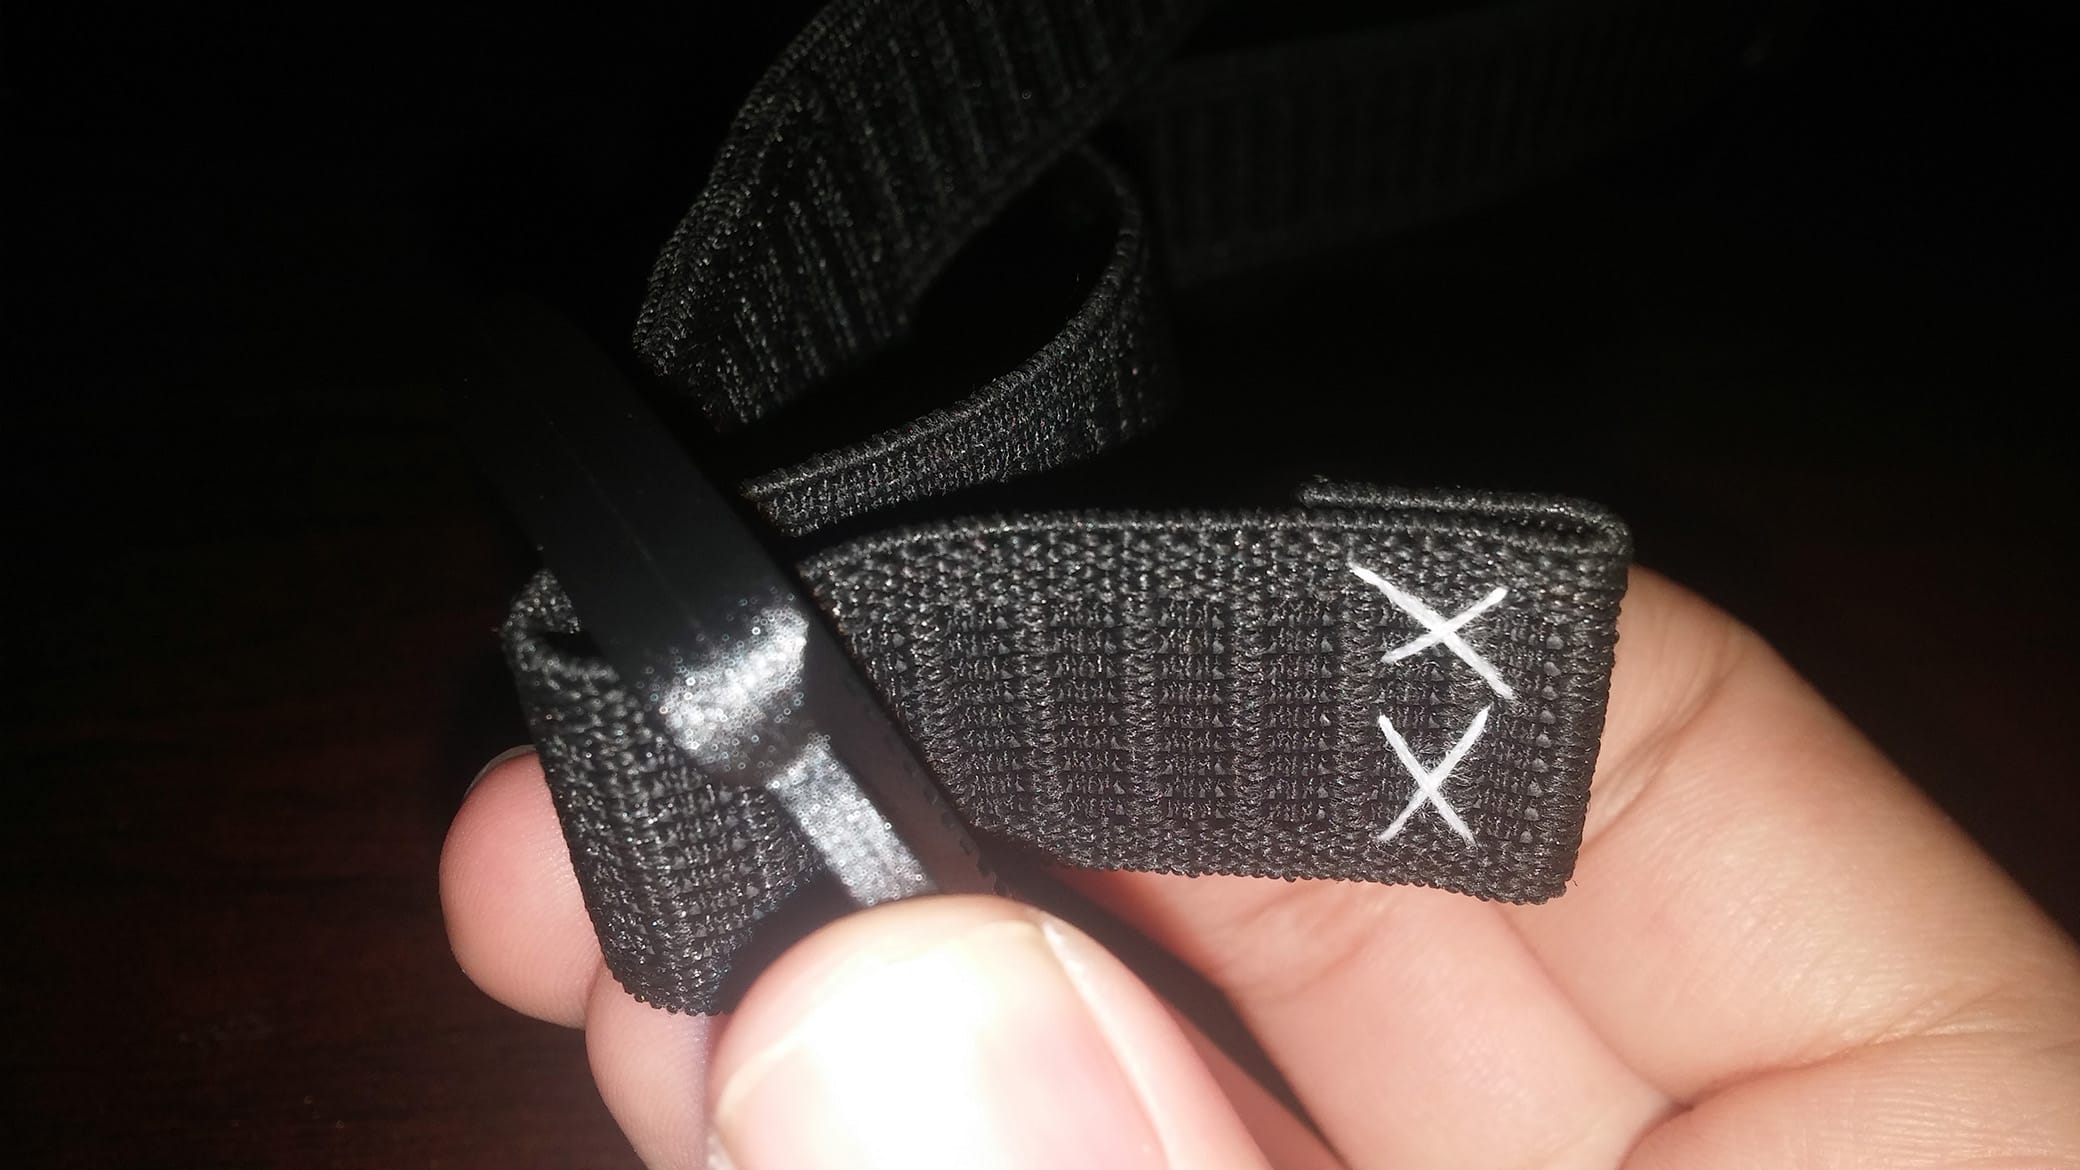
Measure out another length of elastic, this time from the right strap hole all the way to the back of the head and a little further, for adjustment. Then sew it to the headset like before. This time I ran out of black thread, so it’s white on this half.
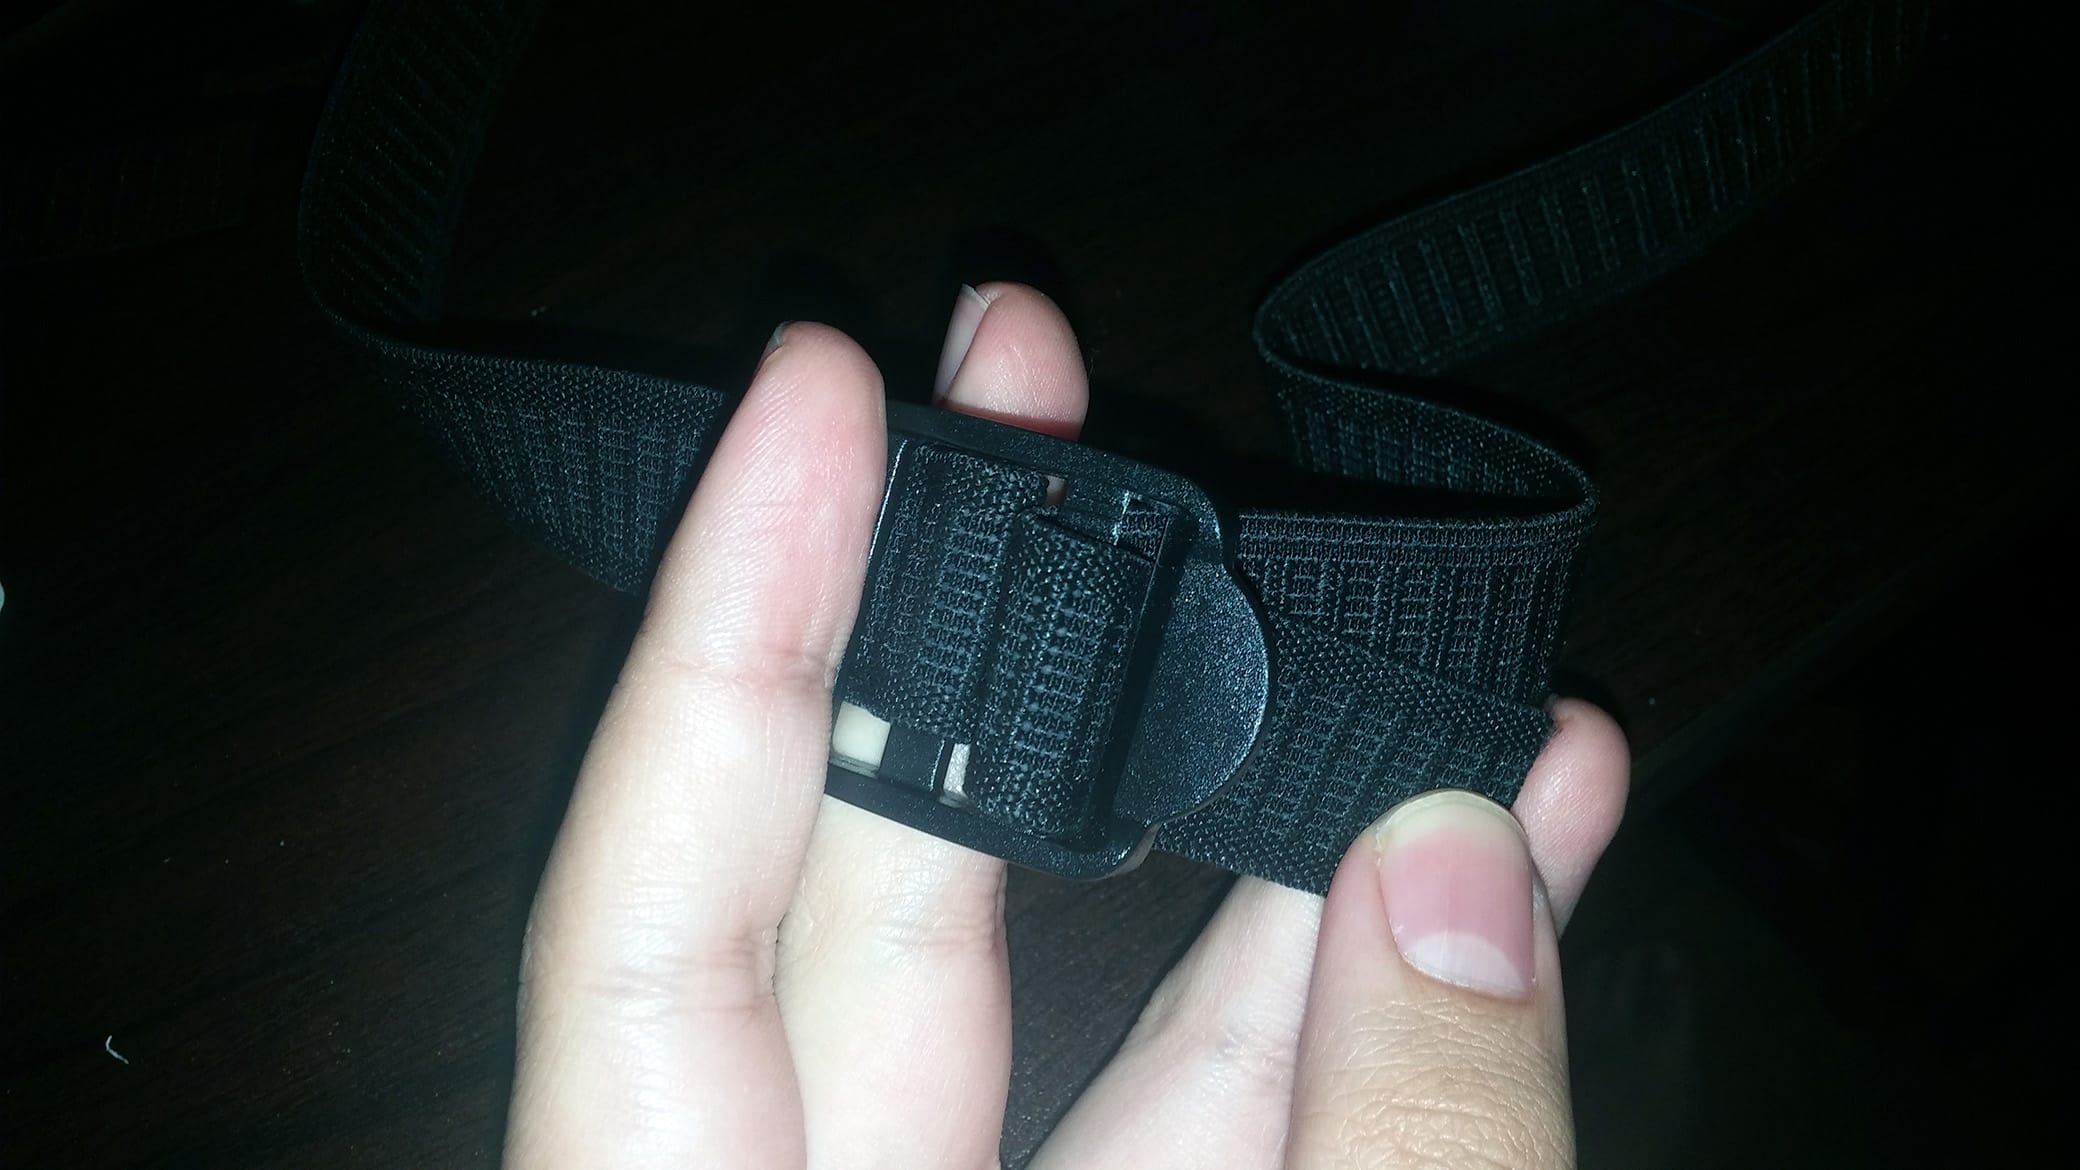
Loop this piece through the strap adjuster like the picture above and sew it after folding it over itself. I would recommend actually folding it over twice, since the tab I made can actually slip through the adjuster without too much trouble. This is something I’m planning on fixing later.
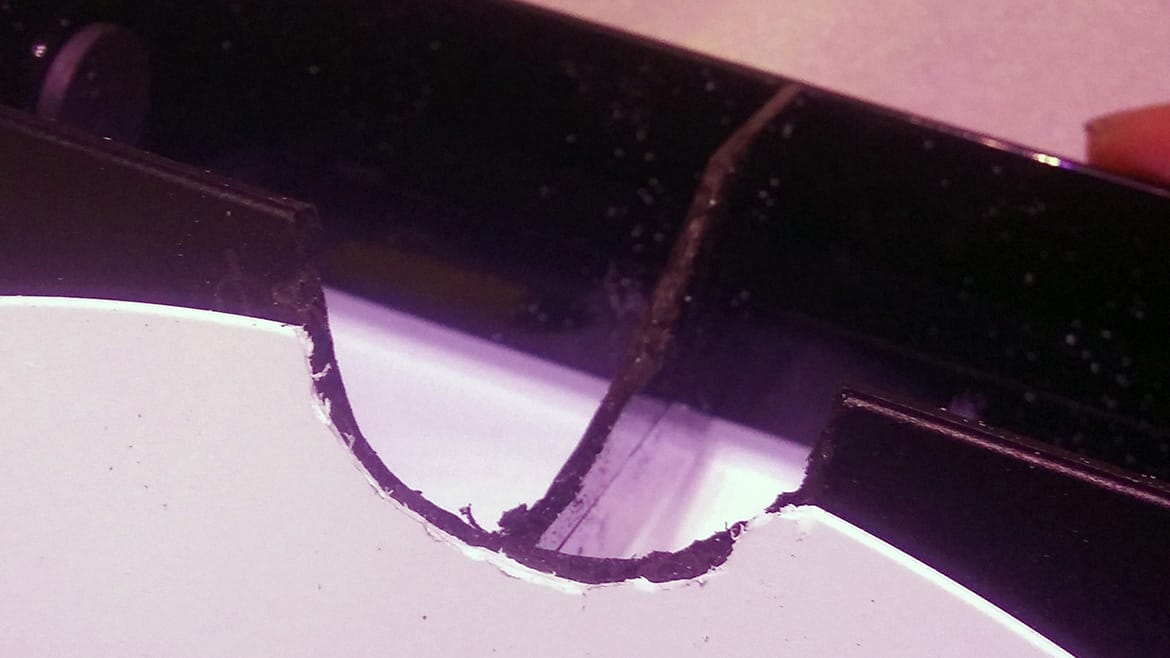
Grab your Dremel (or other rotary tool) and start cutting away at the nose hole. For me this was a long process of cutting part of it away, trying it on, seeing what needed more cutting, and repeating. Once you get it down to size use a round file to smooth it out.
Dremel the other two pieces of your headset as well. Follow the same process as before until the whole headset feels good on your face. Then file all of it down and finish by sanding everything you cut to give you nice, smooth edges.
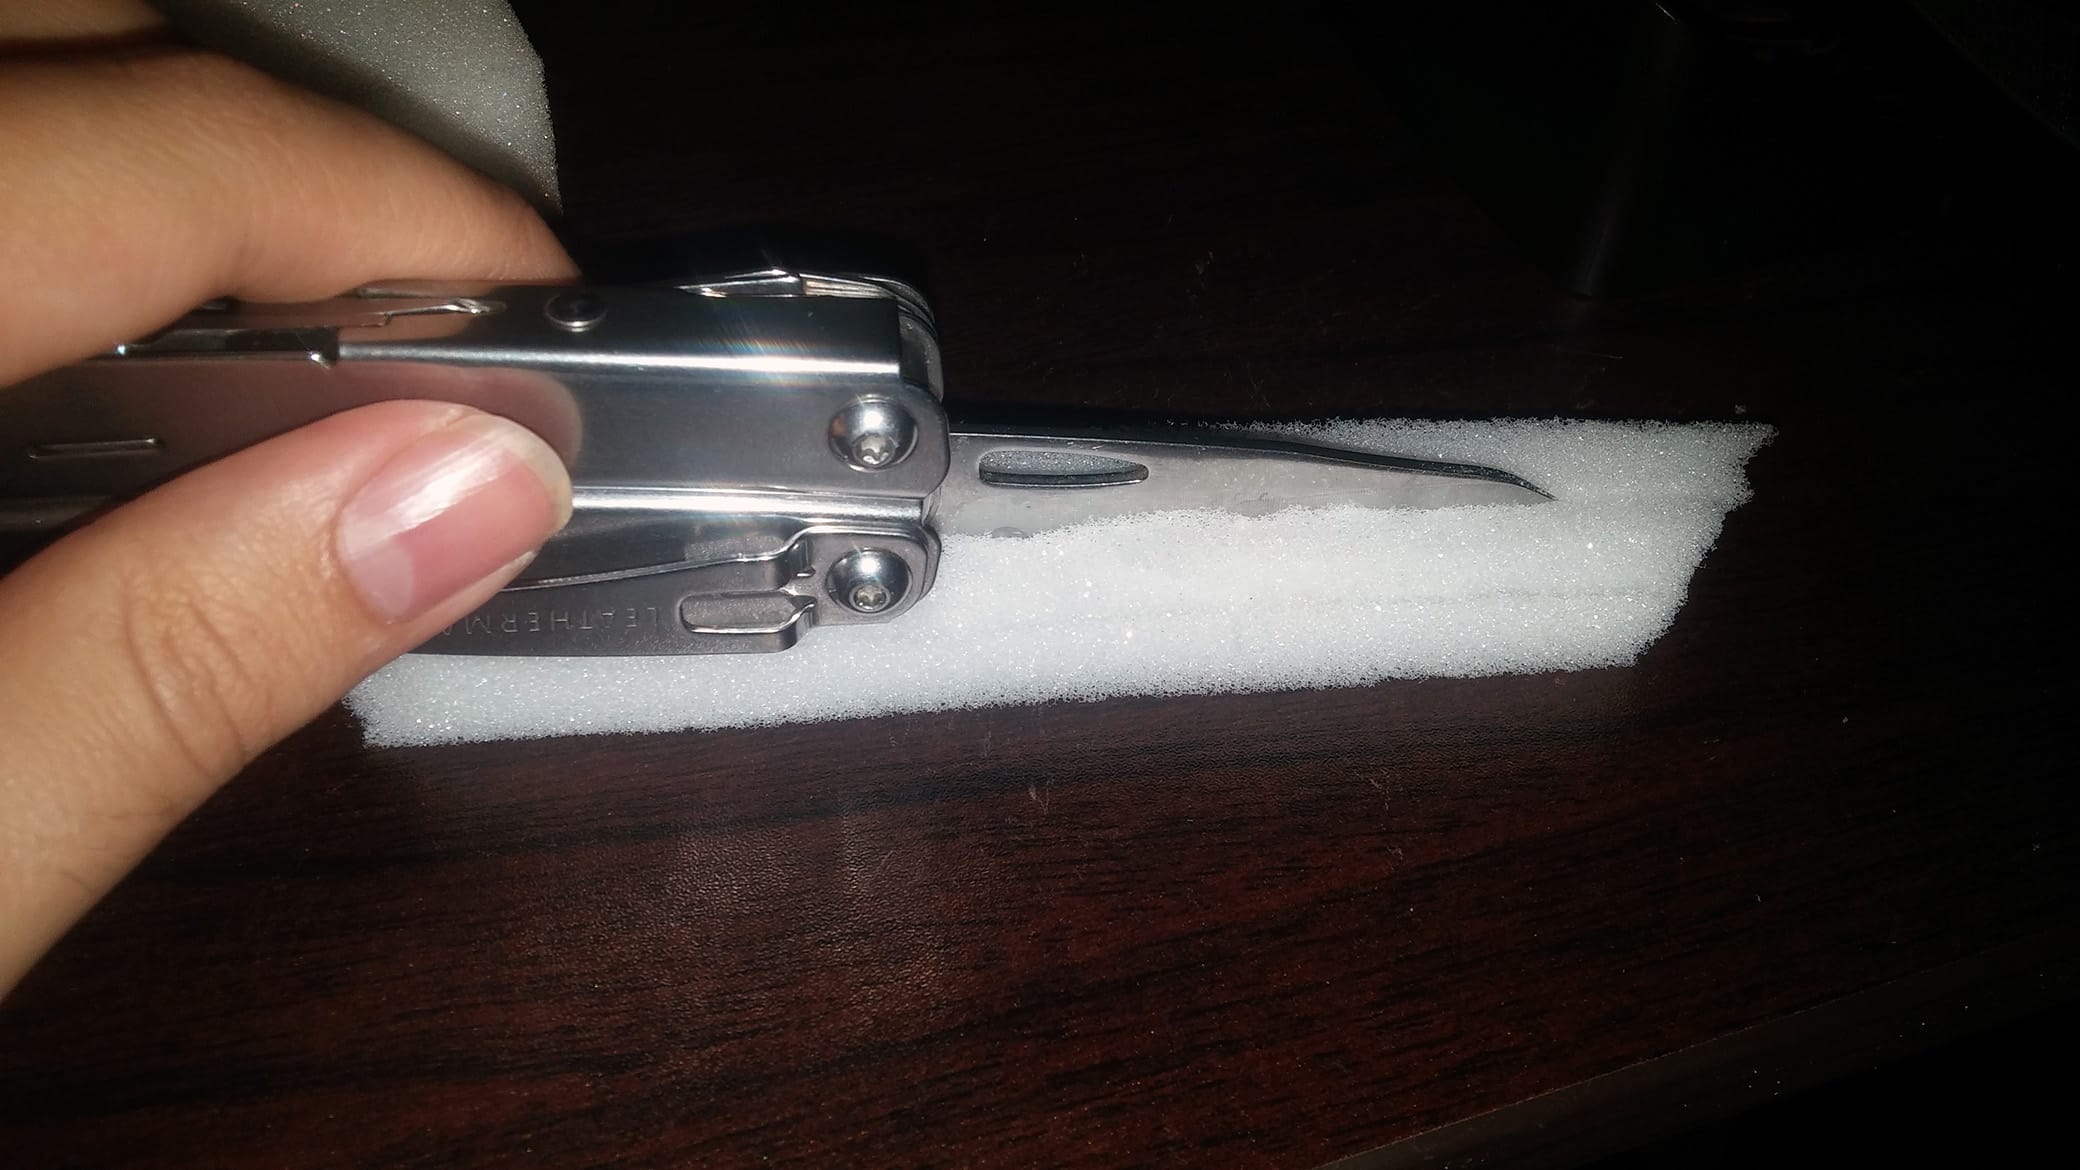
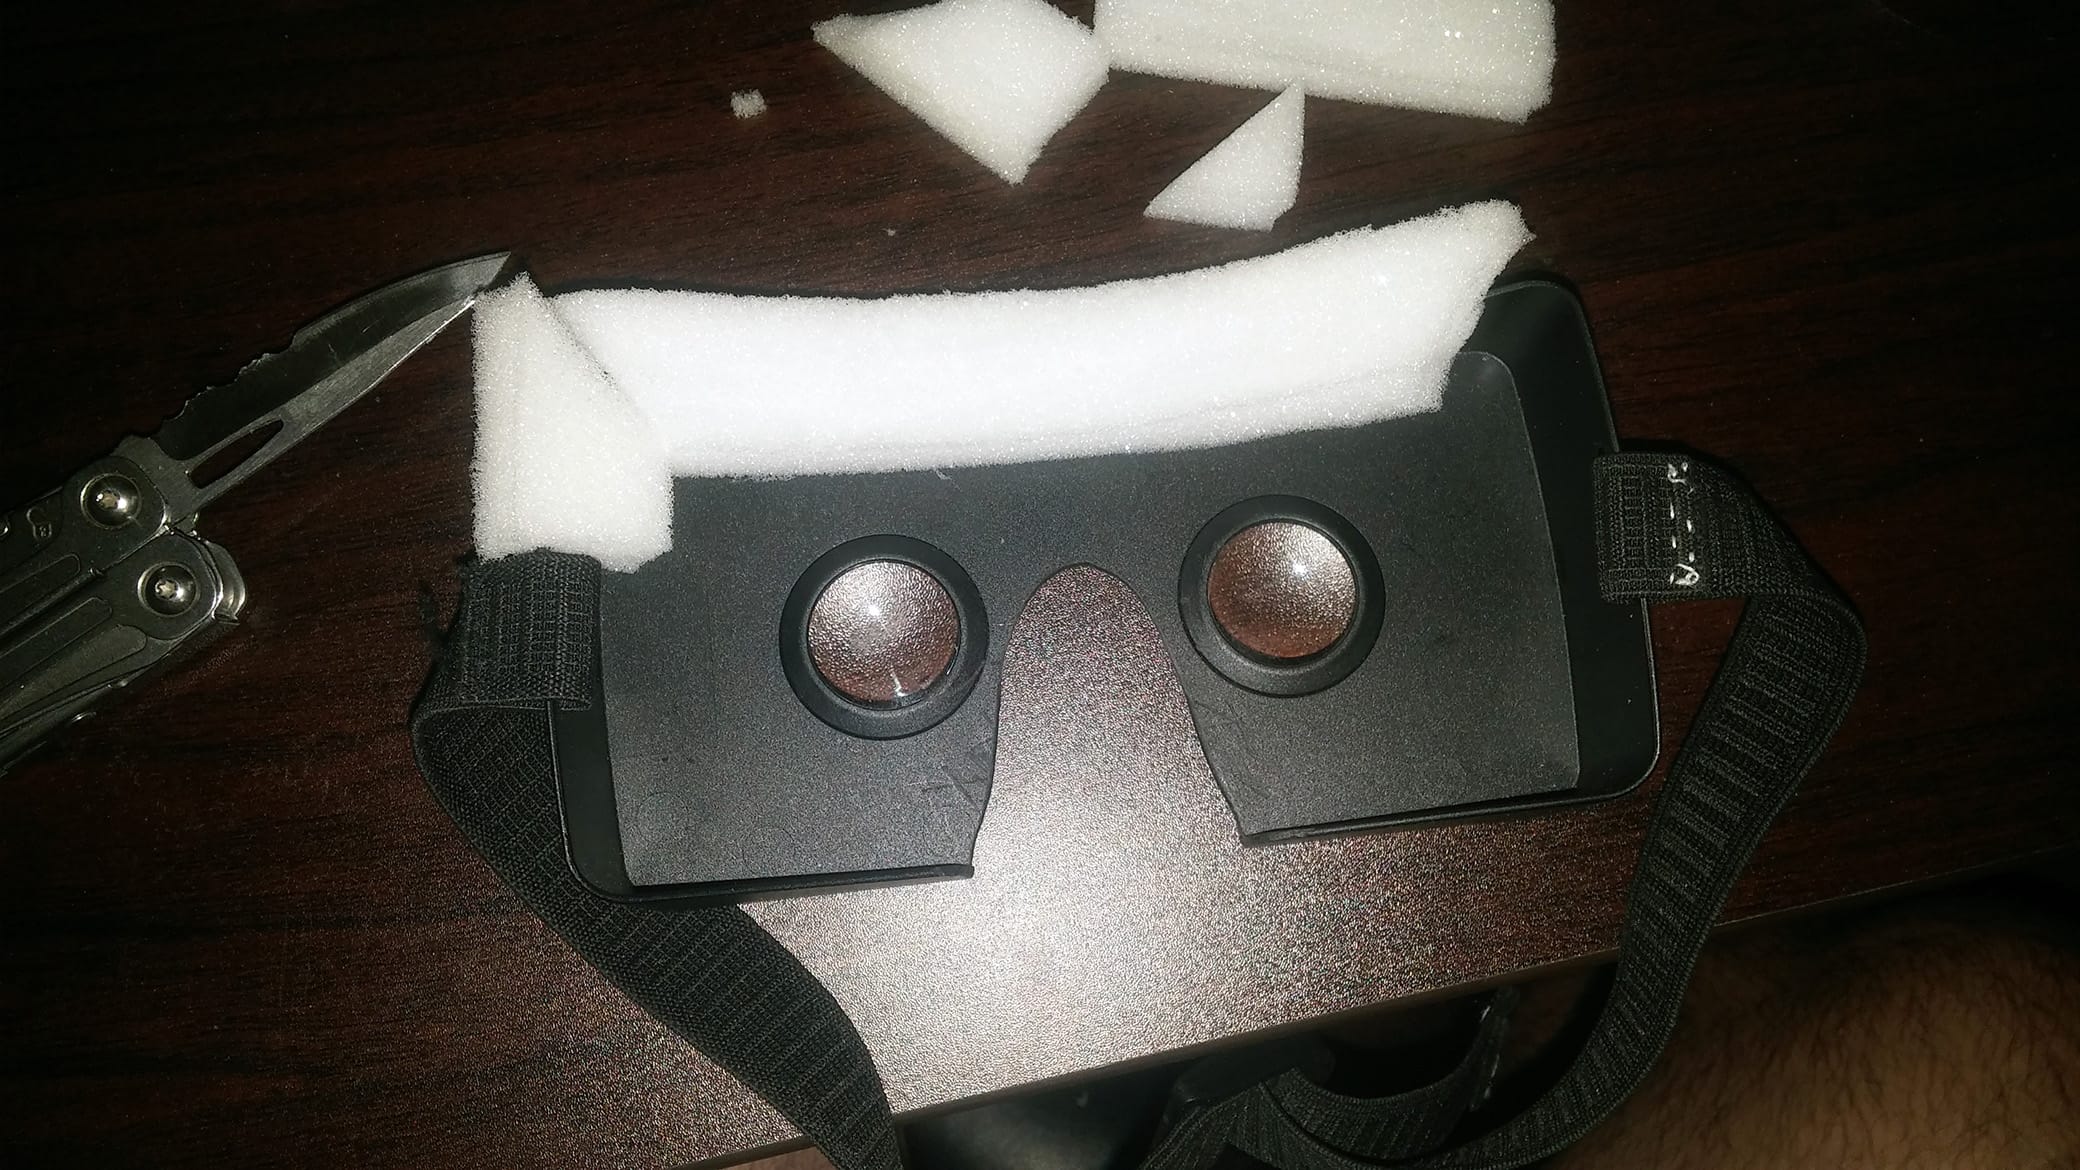
Cut out a small piece of foam. I ended up using only half the amount of foam as I cut out in the picture. Cut pieces to size and create a groove in the middle to make it easier to glue on. I started with a knife and quickly realized that scissors worked way better for everything but the groove. With a well sized groove, the foam should stay on the headset without glue unless upside down.
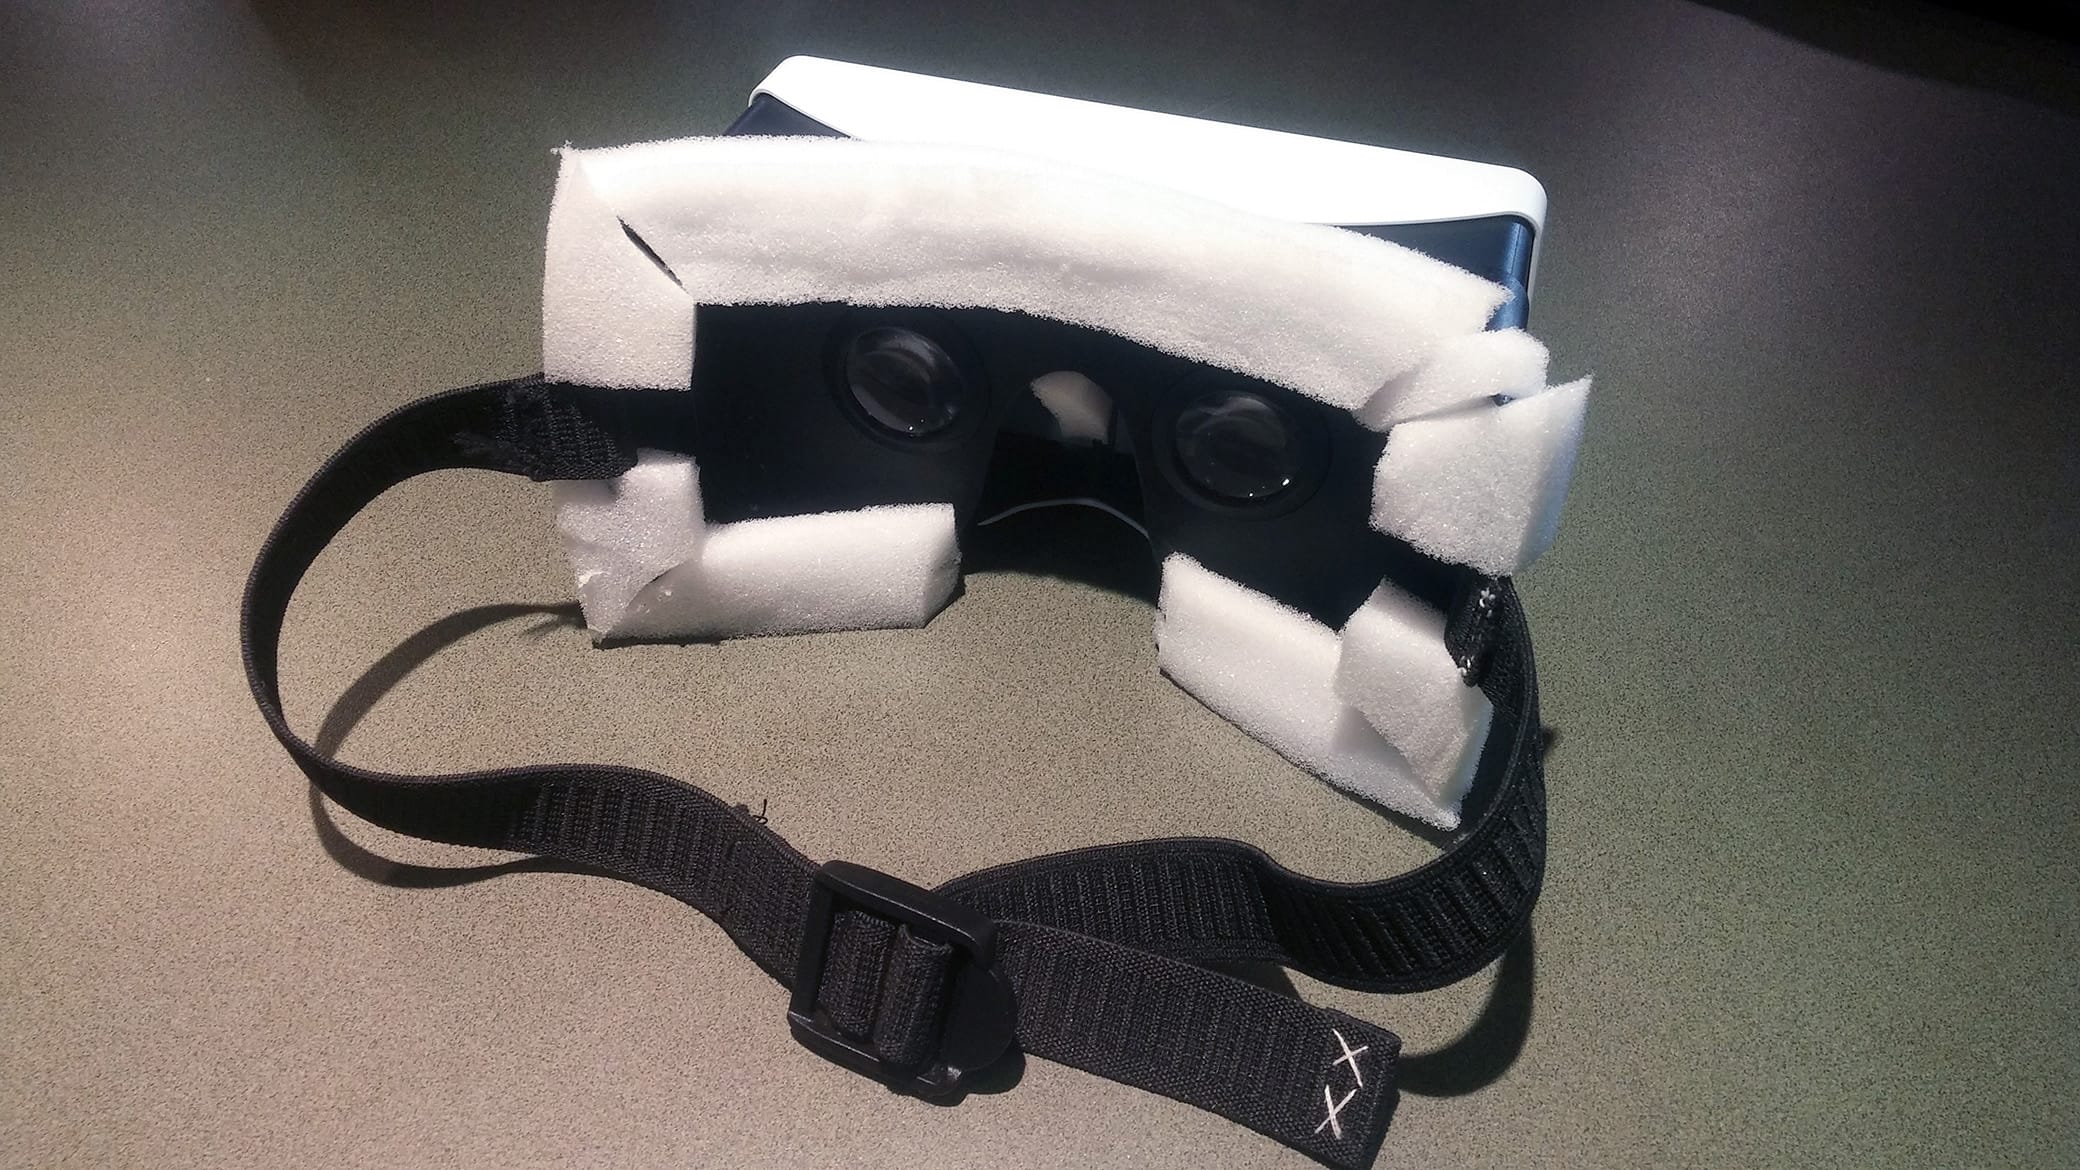
Take your foam pieces and assemble them. Apply some hot glue to the plastic edge of the headset and put the foam pieces in so that the inside of the groove is glued to the plastic. It doesn’t have to look great as long as feels comfortable and blocks all the ambient light behind you.
Result
Here it is! Finally assembled and ready to go. This headset now provides a comfortable, hands-free experience.
I’ve found that most demos actually have a pretty large amount of latency on my phone, probably the result of decent hardware with a massive screen. Still, the benefit of this over a Rift is that I’m untethered.
Earlier today I used this headset as part of my research with RPI’s Emergent Reality Lab to create a “room scale” Google Cardboard experience. The ability to walk around a space with accurate position tracking was amazing, and even with a small amount of latency, I had no difficulty or nausea from walking around, crouching, leaning, etc.
I will update this post with a video of myself using this headset in our CAVE shortly.
Remaining Issues
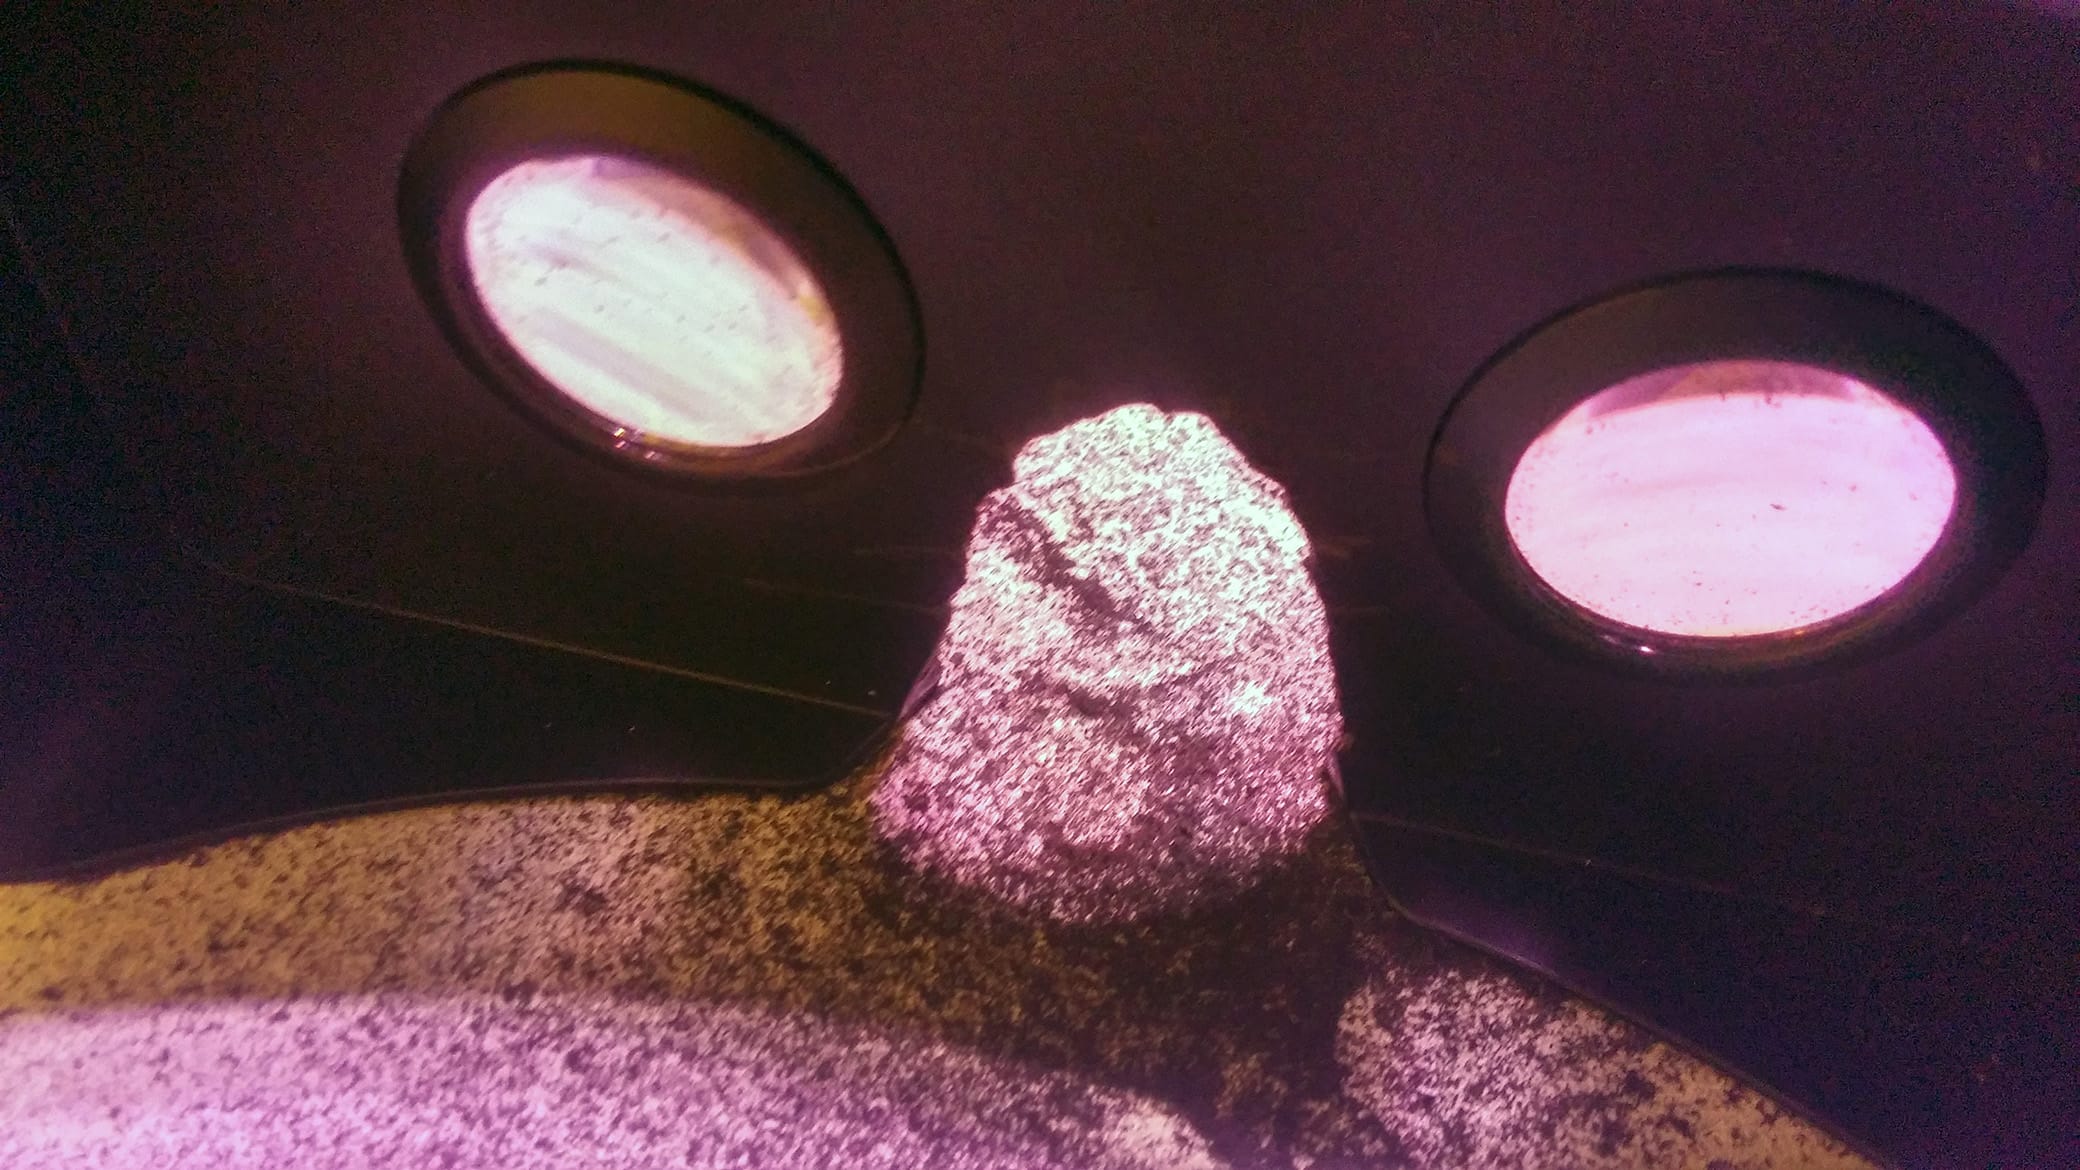
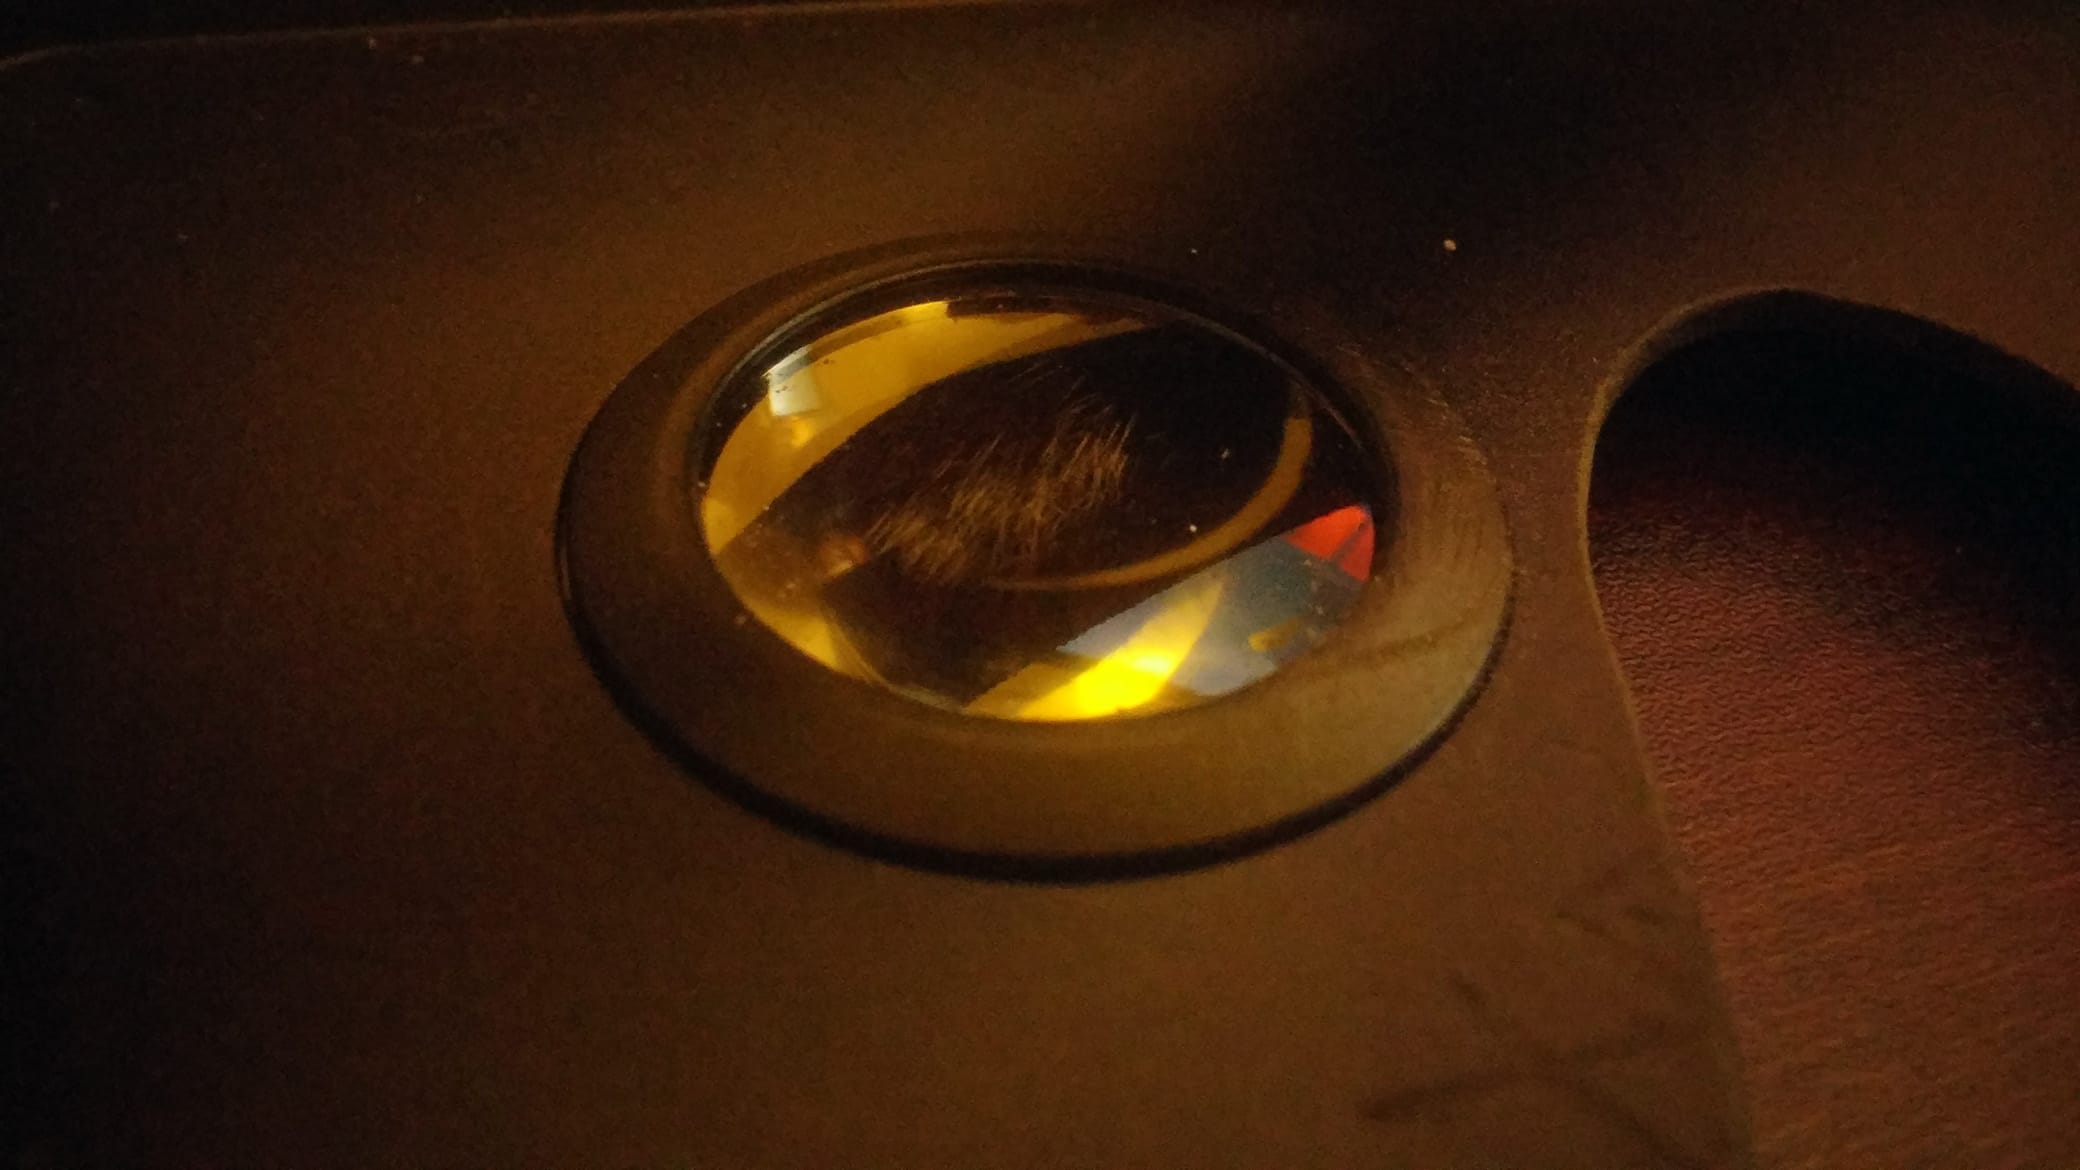
- While I was sanding down the nose hole, I accidentally got a few scratches into one of the lenses. Going to try and fix this with toothpaste or baking soda.
- The headset breaks apart when putting the headset on as well as with sudden movements like jumping. I’m going to find a clamp to keep it all together once the phone is in so I don’t keep dropping my phone.
- Still some minor light leakage from the sides. Need to replace or add to the foam on the left and right edges to get rid of it.
